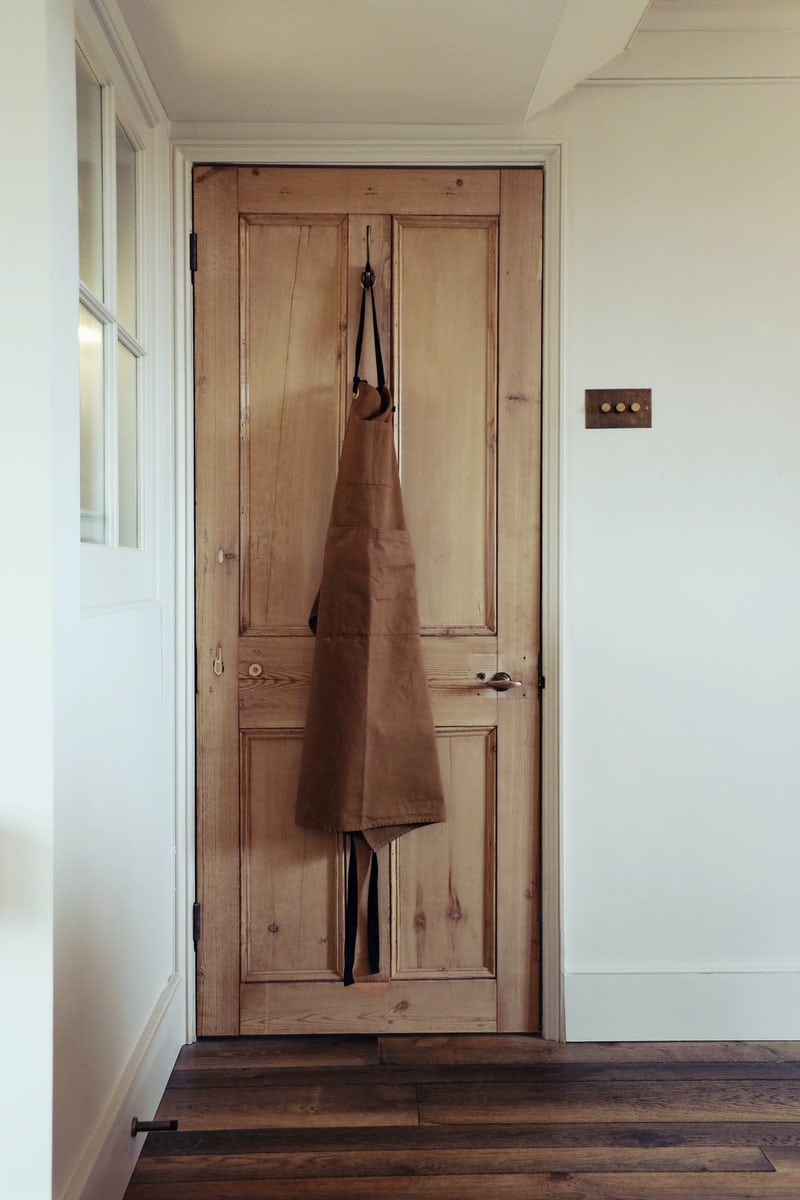
Doors are an understated addition to the home that can add quiet charm and character to the overall decor. Available in a wealth of styles and materials, they offer much in addition to their simple function.
In the average home, however, interior doors are subjugated to an astronomical level of abuse. As a consequence, if left untreated, they’re given little fighting chance. In addition, exterior doors face damage from weathering and harmful UV rays that will quickly deteriorate their look and condition.
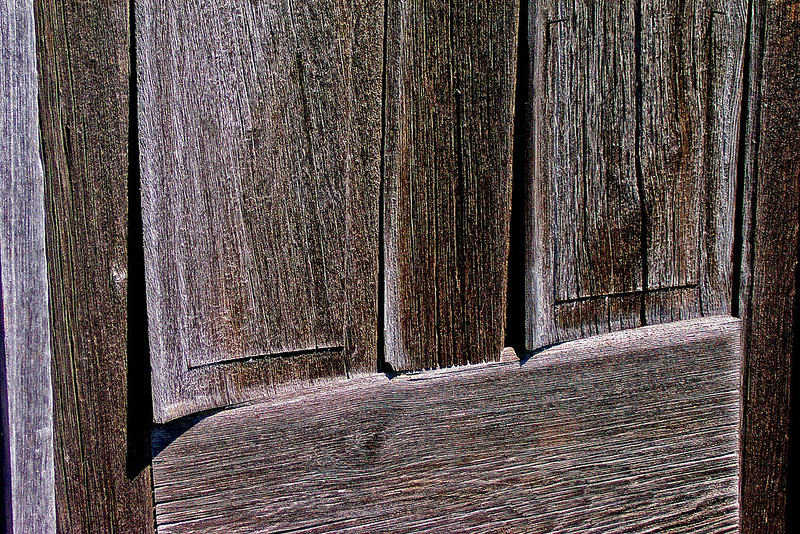
Which brings us nicely around to warping, another issue faced by interior doors. You may see the effects of warping more clearly in the summer, after doors have been left to dry following the wet, windy weather of winter. But just what is door warping?
What is Door Warping?
Door warping is a distortion in wood caused when the fibres change unequally. For example, if a part or side of the wood dries more quickly than another, it can shrink in contrast. Ultimately, this will lead to distortions in the shape of the wood and even cause splitting and cracking in extreme cases.
Door warping usually occurs when there is a rise in humidity or damp conditions, causing the moisture in the air to soak into the wood. This is more common in bathroom doors and external doors that are vulnerable to fluctuating weather changes.
While this may all sound a bit doom and gloom, there’s really no need to fret. Fortunately, there are methods and tricks you can utilise to prevent this occurrence. They will help to ensure your interior and exterior doors remain just so, an elegant addition to your home.
How to Protect Your Doors
The best way to ensure your doors resist warping is with a high quality finish, namely a door oil or a varnish. These are a simple yet highly effective way to protect your doors. An oil will feed and nourish the wood from inside the wood grain, enabling resistance against moisture. A varnish, on the other hand, will provide a waterproof seal around the wood.
Pre-Application
Before applying a finish, you will first need to determine whether your door is bare or has been previously treated. We recommend using the water test, a handy little test that works by dropping a little water onto the surface of the wood. If it beads, there’s a finish present that will need to be removed. If it absorbs, you’re good to go!
Check out our range of wood finish strippers & removers, perfectly suited for the job. If necessary, you may also require the use of a wood filler, designed specifically for repairing minor defects and damage to wood.
We would recommend giving your door a light rub down with a finishing pad to ensure a smooth surface that’s ready for the application of your finish. Properly executed sanding is an easy practice to overlook, yet it can make your life a whole lot easier. A thorough job will remove old finishes, as well as opening up the wood grain so that the oil can penetrate and protect the door to the best of its ability.
The Application
A quality finish is a must for achieving your goals here and we’re happy to say we stock a variety of products that are more than up to the task. Firstly, we have Osmo Door Oil. This is a natural oil and wax based, protective door oil for all softwood and hardwood interior doors. It dries to a lovely, microporous finish that helps prevent warping and is available in satin or raw.
Alternatively, there’s Manns Premier Door Oil. Professional grade and based on a hard-wax formula, it’s all in one capabilities are perfect for protecting new, stripped, pine and oak doors. It is also incredibly easy to apply and maintain, making it purpose-built for more frantic domestic and commercial environments.
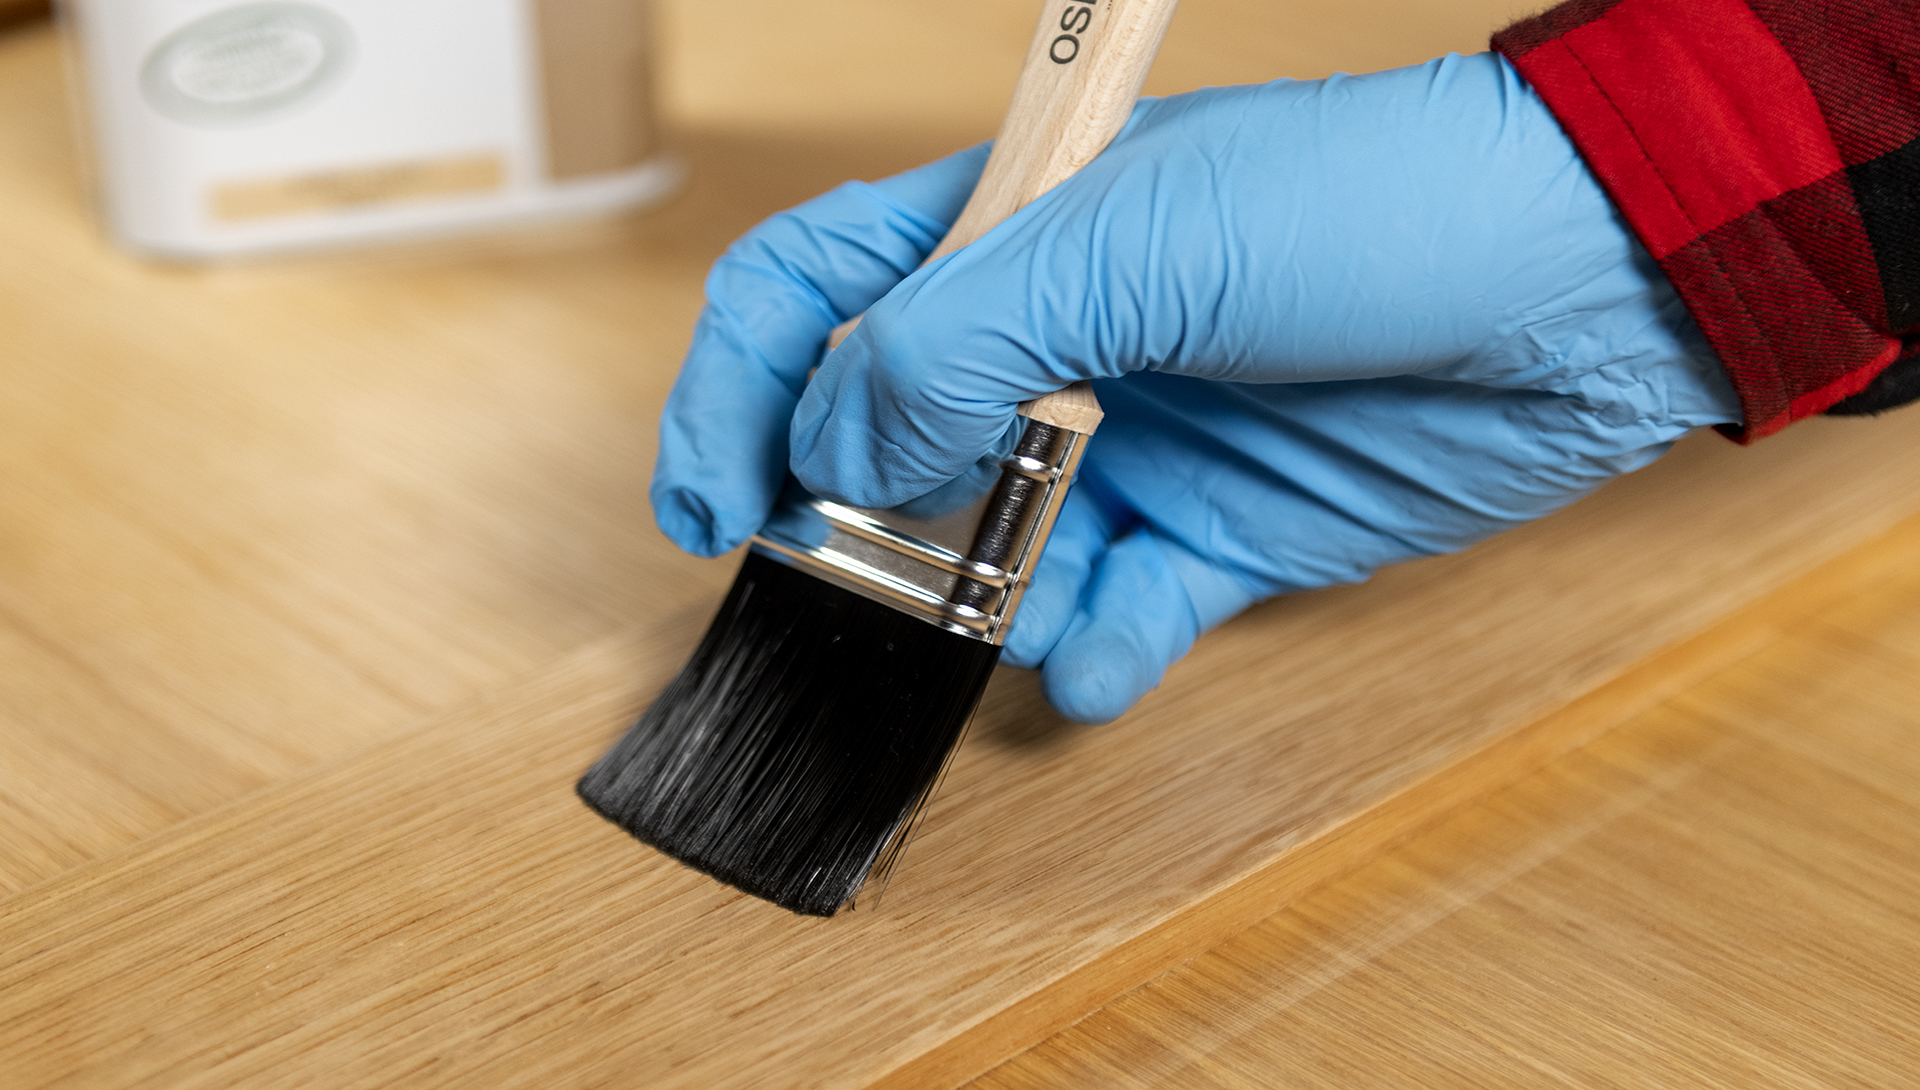
Next, you’re ready to move onto applying your finish. An important point to note before you begin though. Always be sure to be sure to do a test area before you begin any application. Applying a little oil to a small, hidden part of the door will help to ensure you get the look and finish you want and avoid any regrets. Additionally, if the door is veneered oak be sure to check the doors manufacturers guidelines before using oils. In some cases it can invalidate the warranty of the door.
Whichever your choice of treatments, however, it’s always advised to start with a good, reliable applicator, such as the Osmo Flat Brush. Give your treatment product a good stir to ensure a consistent coverage before taking the plunge. Dab off any excess and apply with long strokes, making sure to work up the wood grain.
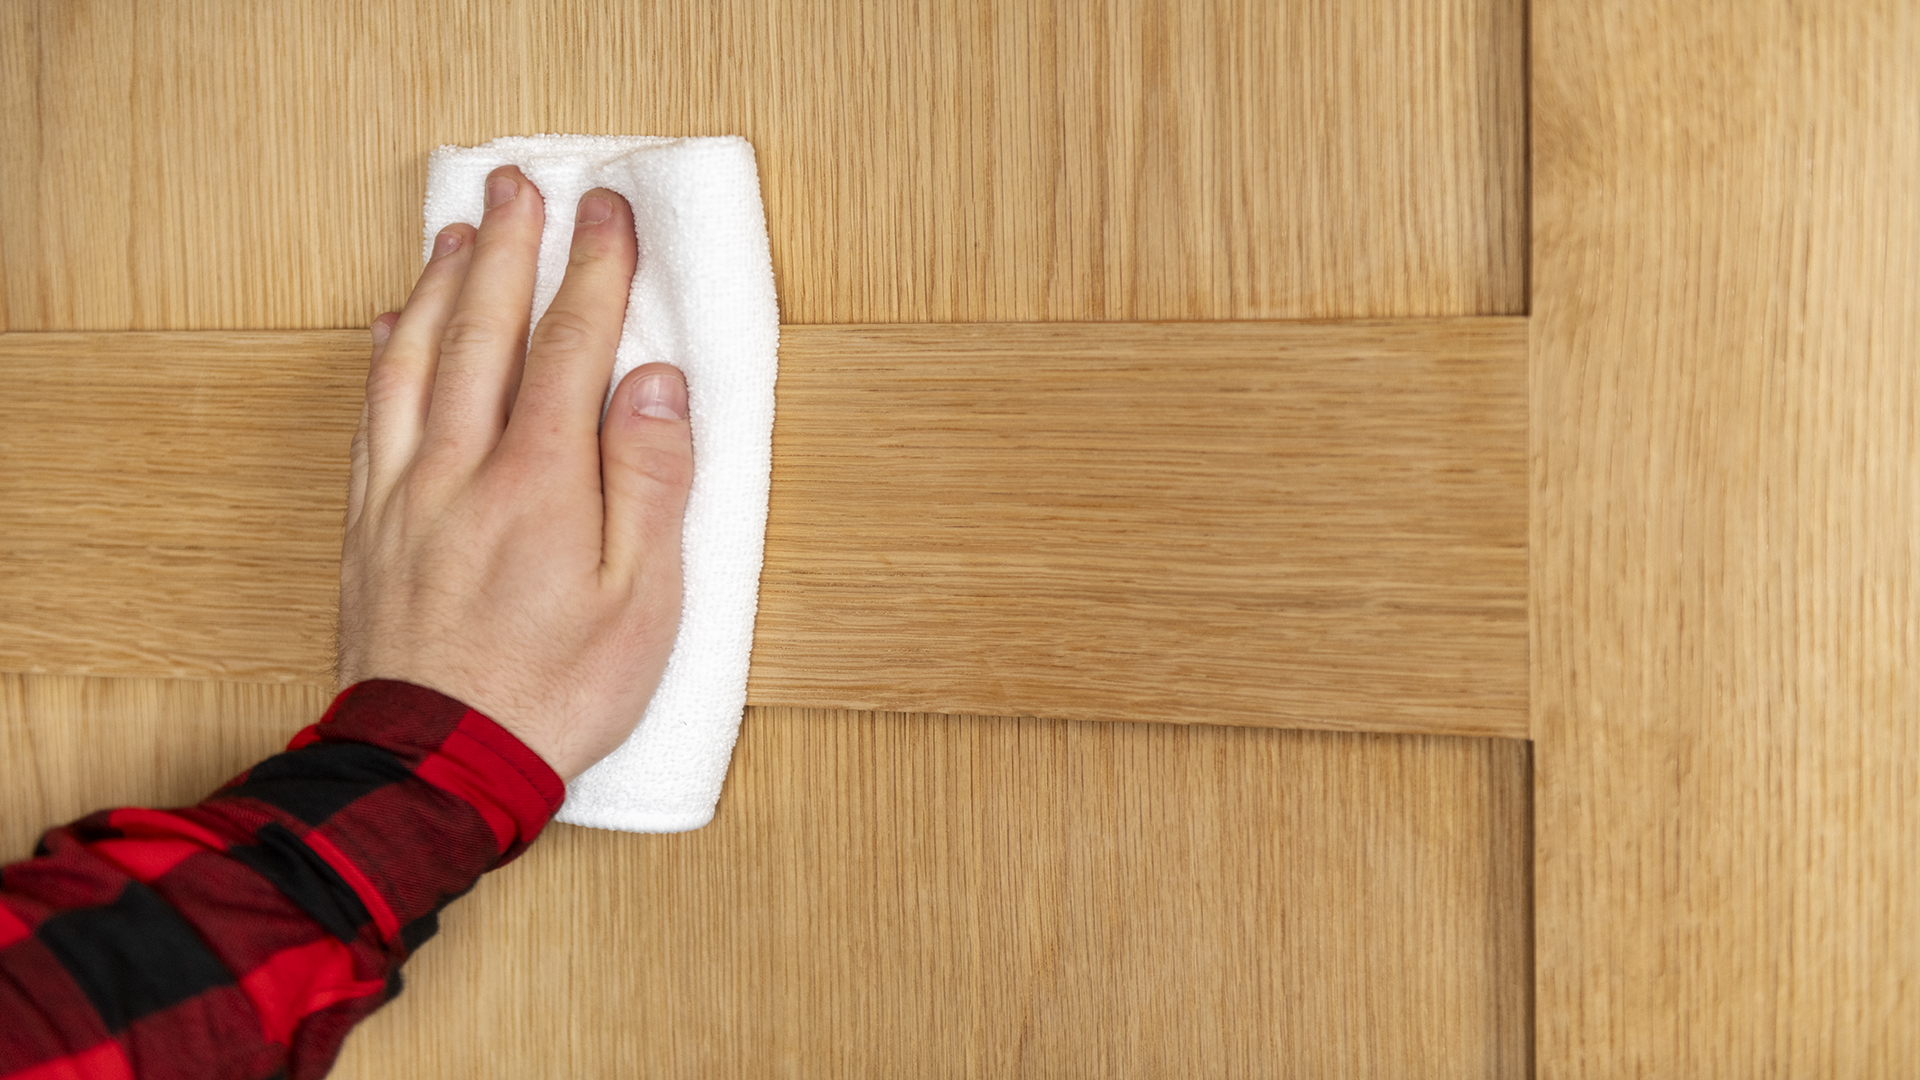
Finally, remove any excess oil with a microfiber cloth and leave to dry for 6 hours. Next, you’re ready for the second coat. Crucially, though, make sure to give your door a good once over with a finishing pad. This will help the second coat soak in and ensure you get a great, smooth finish all round.
Apply a second coat using the same steps as before. Next, flip the door over and repeat the process with this face, making sure this time to apply your finish to both sides of the door, as well as the top and bottom.
Once dry, simply reapply your furniture (by this we mean handles and hinges) to your interior door and reattach to the frame. Your newly treated and protected door is good to go, safe from warping and aesthetically revitalised with a new lease of life.
Post-Application and Maintenance
The hugely desirable quality of wood oils is how stress-free they are to maintain and refinish. Scuffs and minor scratches can be fixed with a good patch repair. Simply sand the affected area with a finishing pad and reapply your door oil. How easy is that?!
For day to day cleaning, we suggest the use of Osmo Spray Cleaner. It’s ideal for more day to day cleaning jobs, effectively moisturising the wood and protecting the finish from wear. It even dries to a streak-free finish!
Our Top Tips
- Make sure to apply your finish to all six sides of the door.
- A dehumidifier is a worthy purchase for moderating the temperature around your interior doors.
- Being on your toes and reacting to any signs of warping and swelling early can be a lifesaver. An early prevention is better than seeking a cure.
- Consider investing in weather resistant wood for exterior doors. Teak, for example, is known to handle temperature changes.
- It is much easier to apply a finish to an unhung door that’s free of furniture.
Need help with your doors?
For more information about door finishes & treatments , contact our team of resident experts who are always on hand to help with project advice and product recommendations. Alternatively, see our door finishes FAQ page which covers many of our most commonly asked questions.
We love to see before, during and after photos of any wood finishing project. If you would like to share your project pictures with us and our followers, you can either send us some photos or share on our Facebook, Twitter, Pinterest or Instagram pages.


