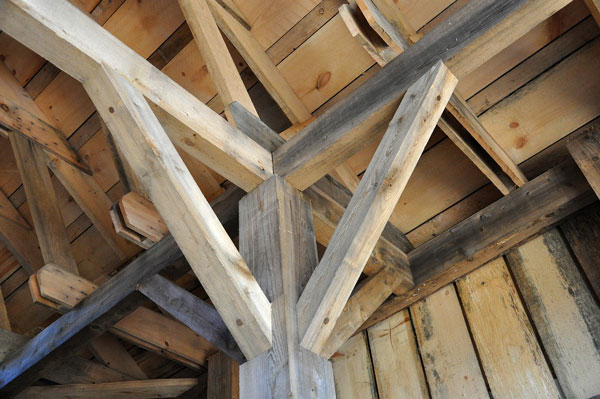
Love them or hate them, exposed wooden beams can make or break the aesthetic of your home. Whether they’re tired and need of an uplift, or previously coated and won’t match the new décor.
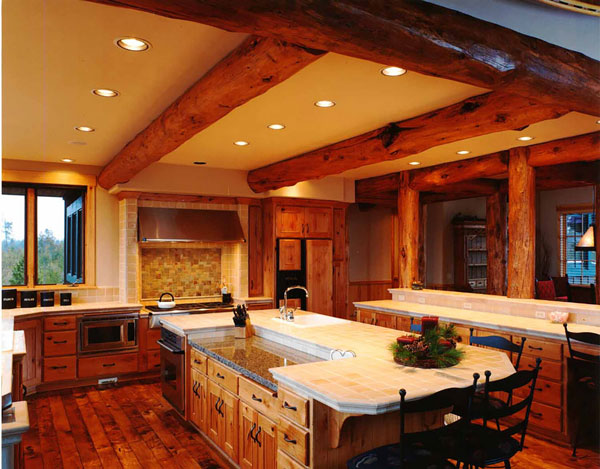
Whether it’s creating a striking contrast against the pristine, painted walls and ceilings or having a centrepiece for your open plan kitchen. Properly treating old oak beams will add heaps of character giving your home the traditional, rustic farmhouse look it deserves.
Stripping Wood Beams
To restore the rustic, authentic look, it is always advised to strip back and remove paint and other old finishes from wood beams, where possible. This gives you a blank canvas to work with and the best possible result with a plethora of options at your disposal. Products such as Paint Panther or an alternative paint stripper or remover will make light work of most coatings. A test area to confirm suitability is a must. If you’re in need of something stronger, PeelAway paint and varnish remover is your next best bet. We recommend doing a test with the Peel away sample pack to determine variables such as application thickness and working time is recommended. Follow up with some sanding to further prepare the area for refinishing and you’re ready for treating your old wood beams.
Stripping Oak Beams
It’s worth noting that using Peelaway 1 on Oak is likely to cause some discolouration of the timber so it’s advised to only use the Peelaway 7 formulation.
Finishing Wooden Beams
If you’re looking to create a striking, rugged look against a backdrop of painted walls or colour matching to flooring or other wood in the area, you’re going to need to apply a product with a splash of colour in it. A great place to start is a wood stain. Manns Classic Oak Wood Stain is a water-based wood stain, the perfect treatment for Oak beams. Liberon Palette Wood Dye is a water-based, acrylic wood dye, which gives a more saturated colour for the wood, whilst still showing the beauty of the wood grain. These products should then be sealed with an appropriate wood varnish or wood oil. For minimal colour changes, once the top coat is applied, we recommend using a wood wax.
Using Oil and Wax for Wooden Beams
Alternatively, two-in-one products such as Osmo Polyx Oil Tints get the job done by sealing, protecting and colouring with an attractive range of wood tones. For a more rustic look, consider a coloured wax, such as Fiddes Supreme Wax Polish. It has a wide range of colours to truly make the woodwork stand out. For an aged look, why not try a pigmented wax which is made to make new, untreated wood look aged and give it a rugged sense of timelessness.
Clear Finishes for Wood Beams
If colour changes aren’t your thing and you’re looking to just emphasise the natural colour and beauty of the wood, clear oils such as hard wax oils are fantastic for sealing and protecting whilst showing-off the grain of the beautiful beams. A more traditional route is also available in the shape of Danish oil or Linseed Oil, which will also nourish and protect wooden beams.

Once you’re done, stand back and marvel at the exposed skeleton of your home and the bags of character it now has!
Need help with with your restoration project?
For more information about wooden beam restoration, contact our team of resident experts who are always on hand to help with project advice and product recommendations. Alternatively, see our wooden beam treatments FAQ page which covers many of the most commonly asked questions about wooden beam restoration.
We love to see before, during and after photos of any wood finishing project. If you would like to share your project pictures with us and our followers, you can either send us some photos or share on our Facebook, Twitter, Pinterest or Instagram pages.


The base of the vertical timber frames are damp and rotten in places. When this is cut out how is best to treat the good timber behind before splicing in a new section?
Hi Neil,
Please consider this product which is suitable for interior and exterior use. https://www.wood-finishes-direct.com/product/cuprinol-wood-preserver-clear-wb This will require over coating with another product depending on whether the wood is interior or exterior.
Please come back to me if required – Alison