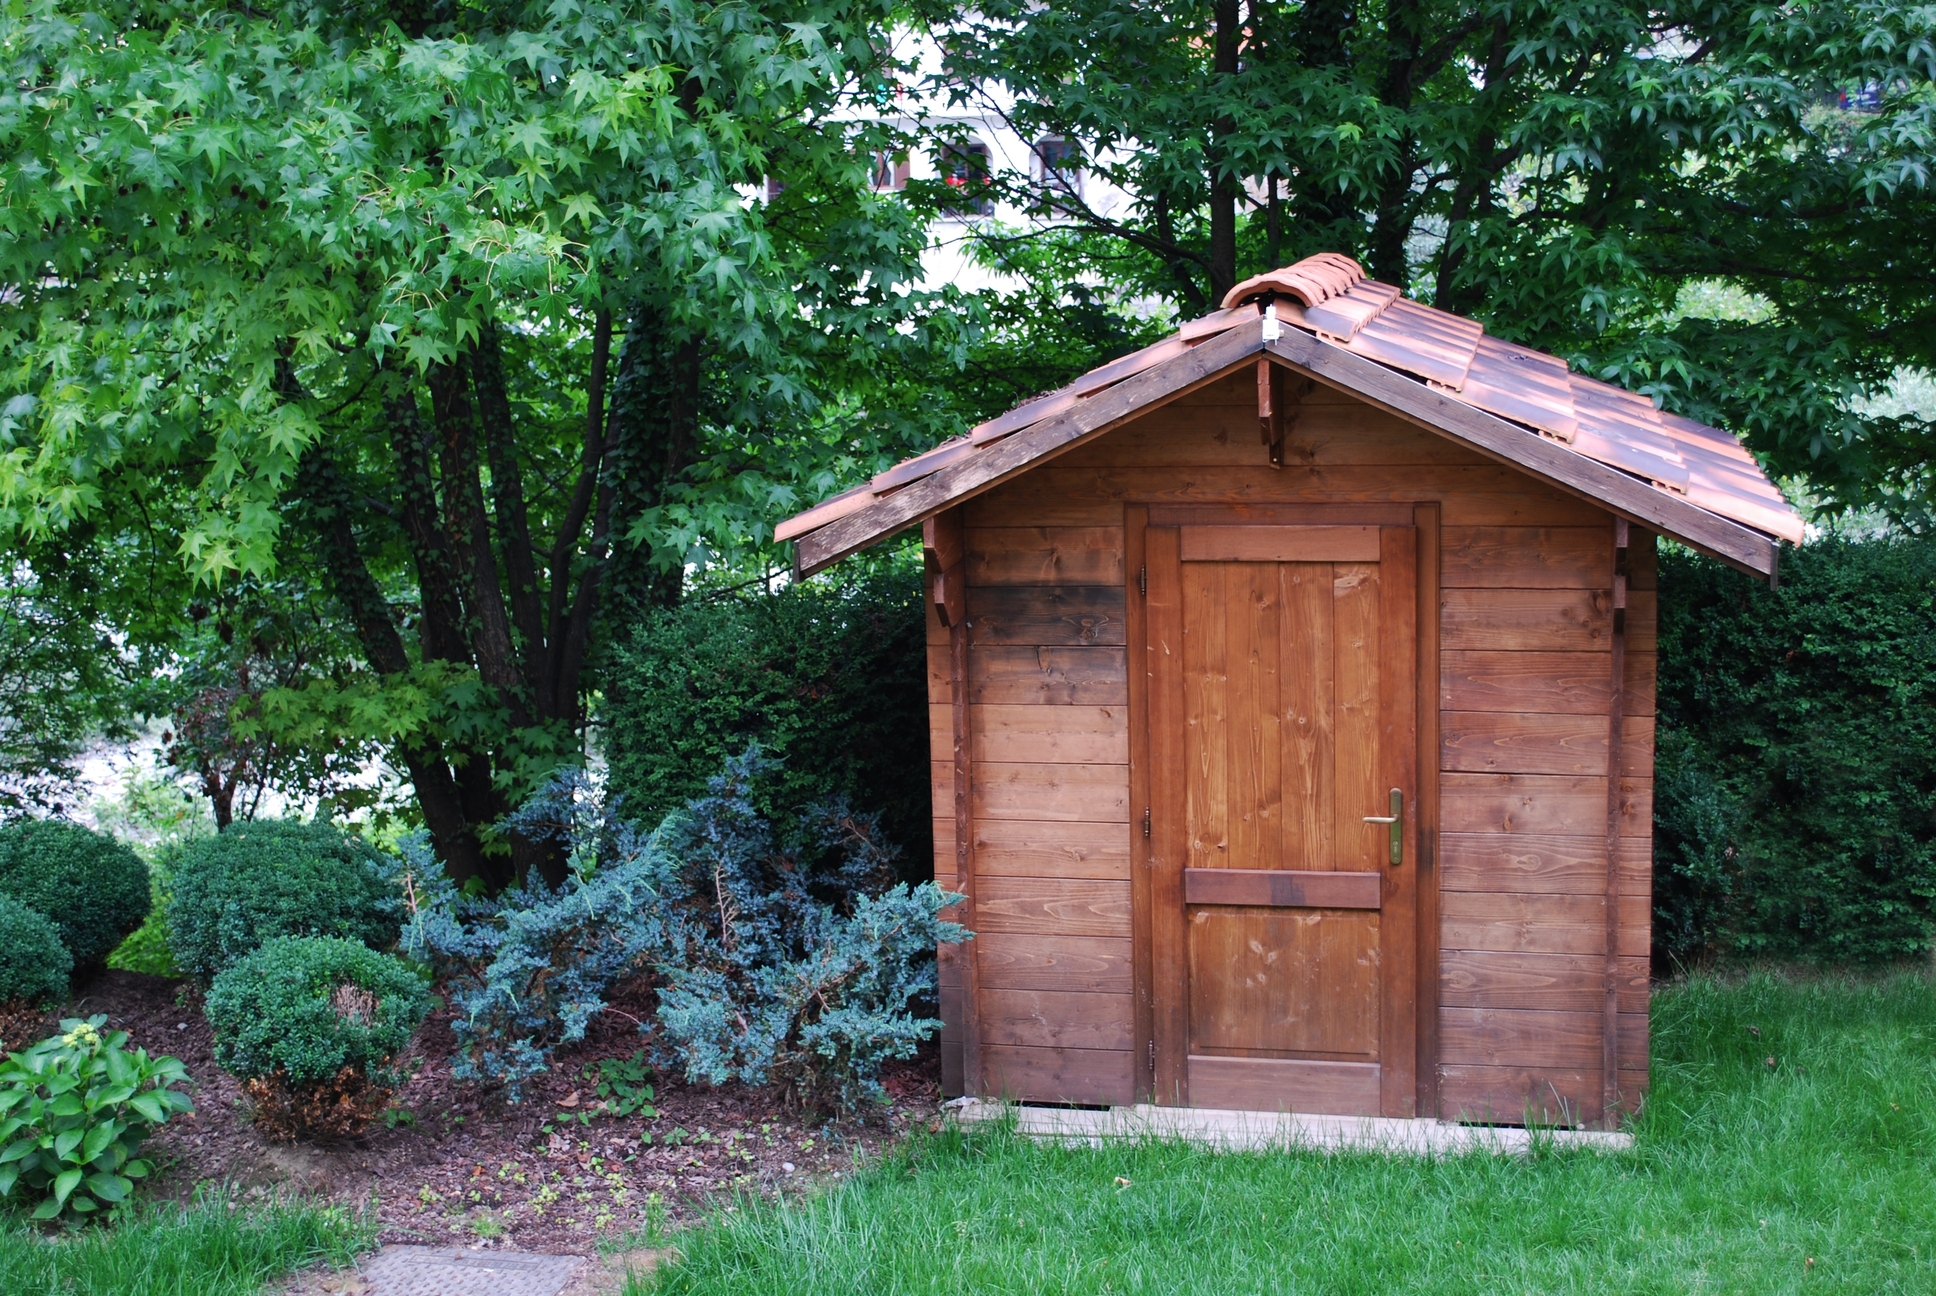
A neglected shed that’s unrecognisable from its former self is a common feature in many places including most back gardens. Taking the appropriate steps to paint and preserve your shed will go a long way to prevent your timber outhouse from looking desolate and distraught.

So, how do I paint my shed properly? Well fear not, Wood Finishes Direct have the first-rate how to paint your shed guide, with our usual expert advice and product recommendations.
What Do I Need?
First of all, knowing what you need to paint your shed is pretty important! Here’s all the equipment you’ll need to transform that shed into a stunning and stylish outbuilding.
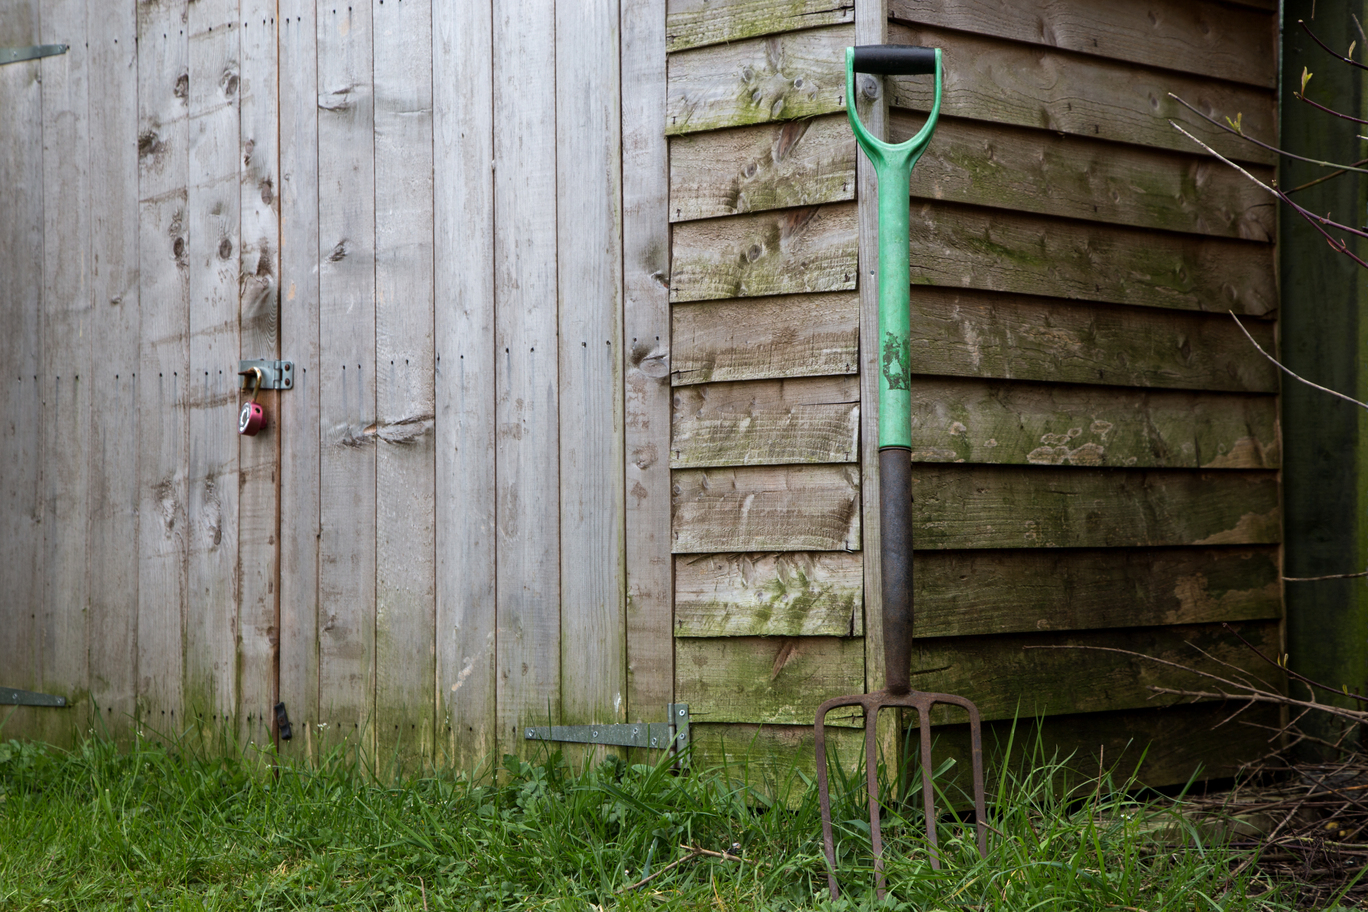
- Stiff Broom
- Sandpaper P80/P120
- 2 Exterior Block Brush’s
- Barrettine Premier Universal Preserver
- Dust Sheets
- Bedec Barn Paint Satin
- Masking Tape
Why Do I Need Wood Preserver If I’m Using Paint?
Paint is fantastic from a visual perspective, but it doesn’t offer the protection you need to prevent the wood from deteriorating 2 years down the line. To prevent this, get a preserver on your timber before you apply your paint.
Preservers will nourish and protect your shed from degradation as it sinks into the grains of the timber and will protect the wood from wood-boring insects, rotting and blue stain fungi (a bit like how sun cream protects us from sun damage).
A good preserver will remain effective for a good 1-2 years before needing a top-up coat. In terms of effectiveness and versatility, Barrettine Premier Universal Preserver is a consumer favourite for quality but also doesn’t break the bank.
The name of the product gives away why Barrettine’s preserver is so efficient and effective, it’s universal – so you can use it on pretty much anything. It’s an all-round safe bet for your shed, if you aren’t too sure what preserver you need (and don’t have the time to find that absolute perfect fit for your timber), Barrettine’s Premier Universal Preserver is a great choice.
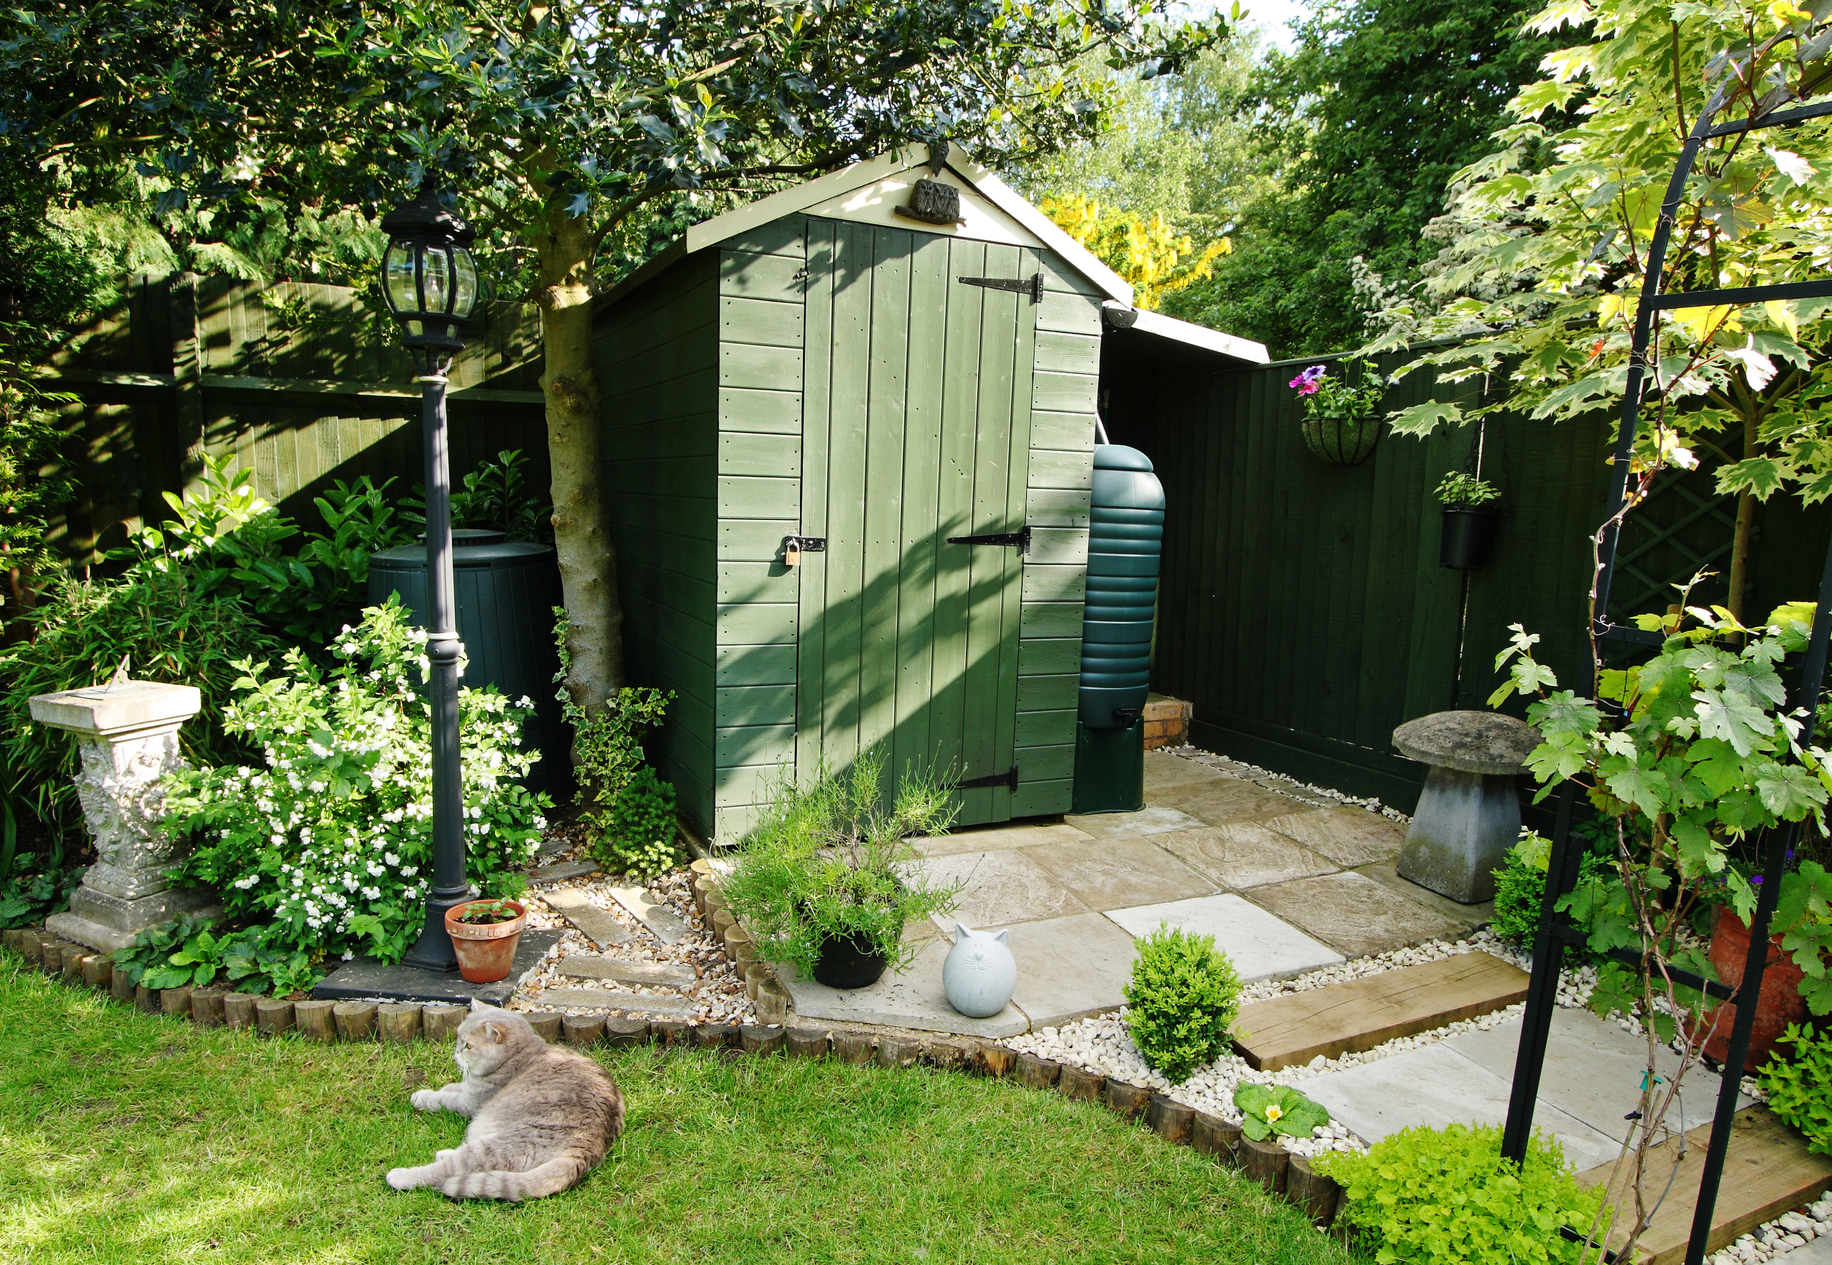
What Paint Should I Choose?
First of all, there are so many options to choose from, whether they be water based or solvent based and if you find a paint and colour that you really like, go for it! From Osmo Garden Colour to Cuprinol Garden Shades we have the whole spectrum, premium paint at a premium price – but also those more value-for-money options.
But is there a perfect paint that balances price tag and quality? A strong contender for that would certainly be Bedec’s Barn Paint Satin. The only notable downside to this premium paint is the fact that it is only available in 17 colours, which compared to most paints is pretty slim.
If you’re looking for a plethora of colours to choose from, check out Sadolin Superdec, which is currently obtainable in over 60 colours.
Preparation
The preparation for painting your shed is fairly straightforward but is vital if you want your finished look to last for a long period of time. For a successful preparation phase you’ll need the following:
- Stiff Broom
- Sandpaper P80/P120
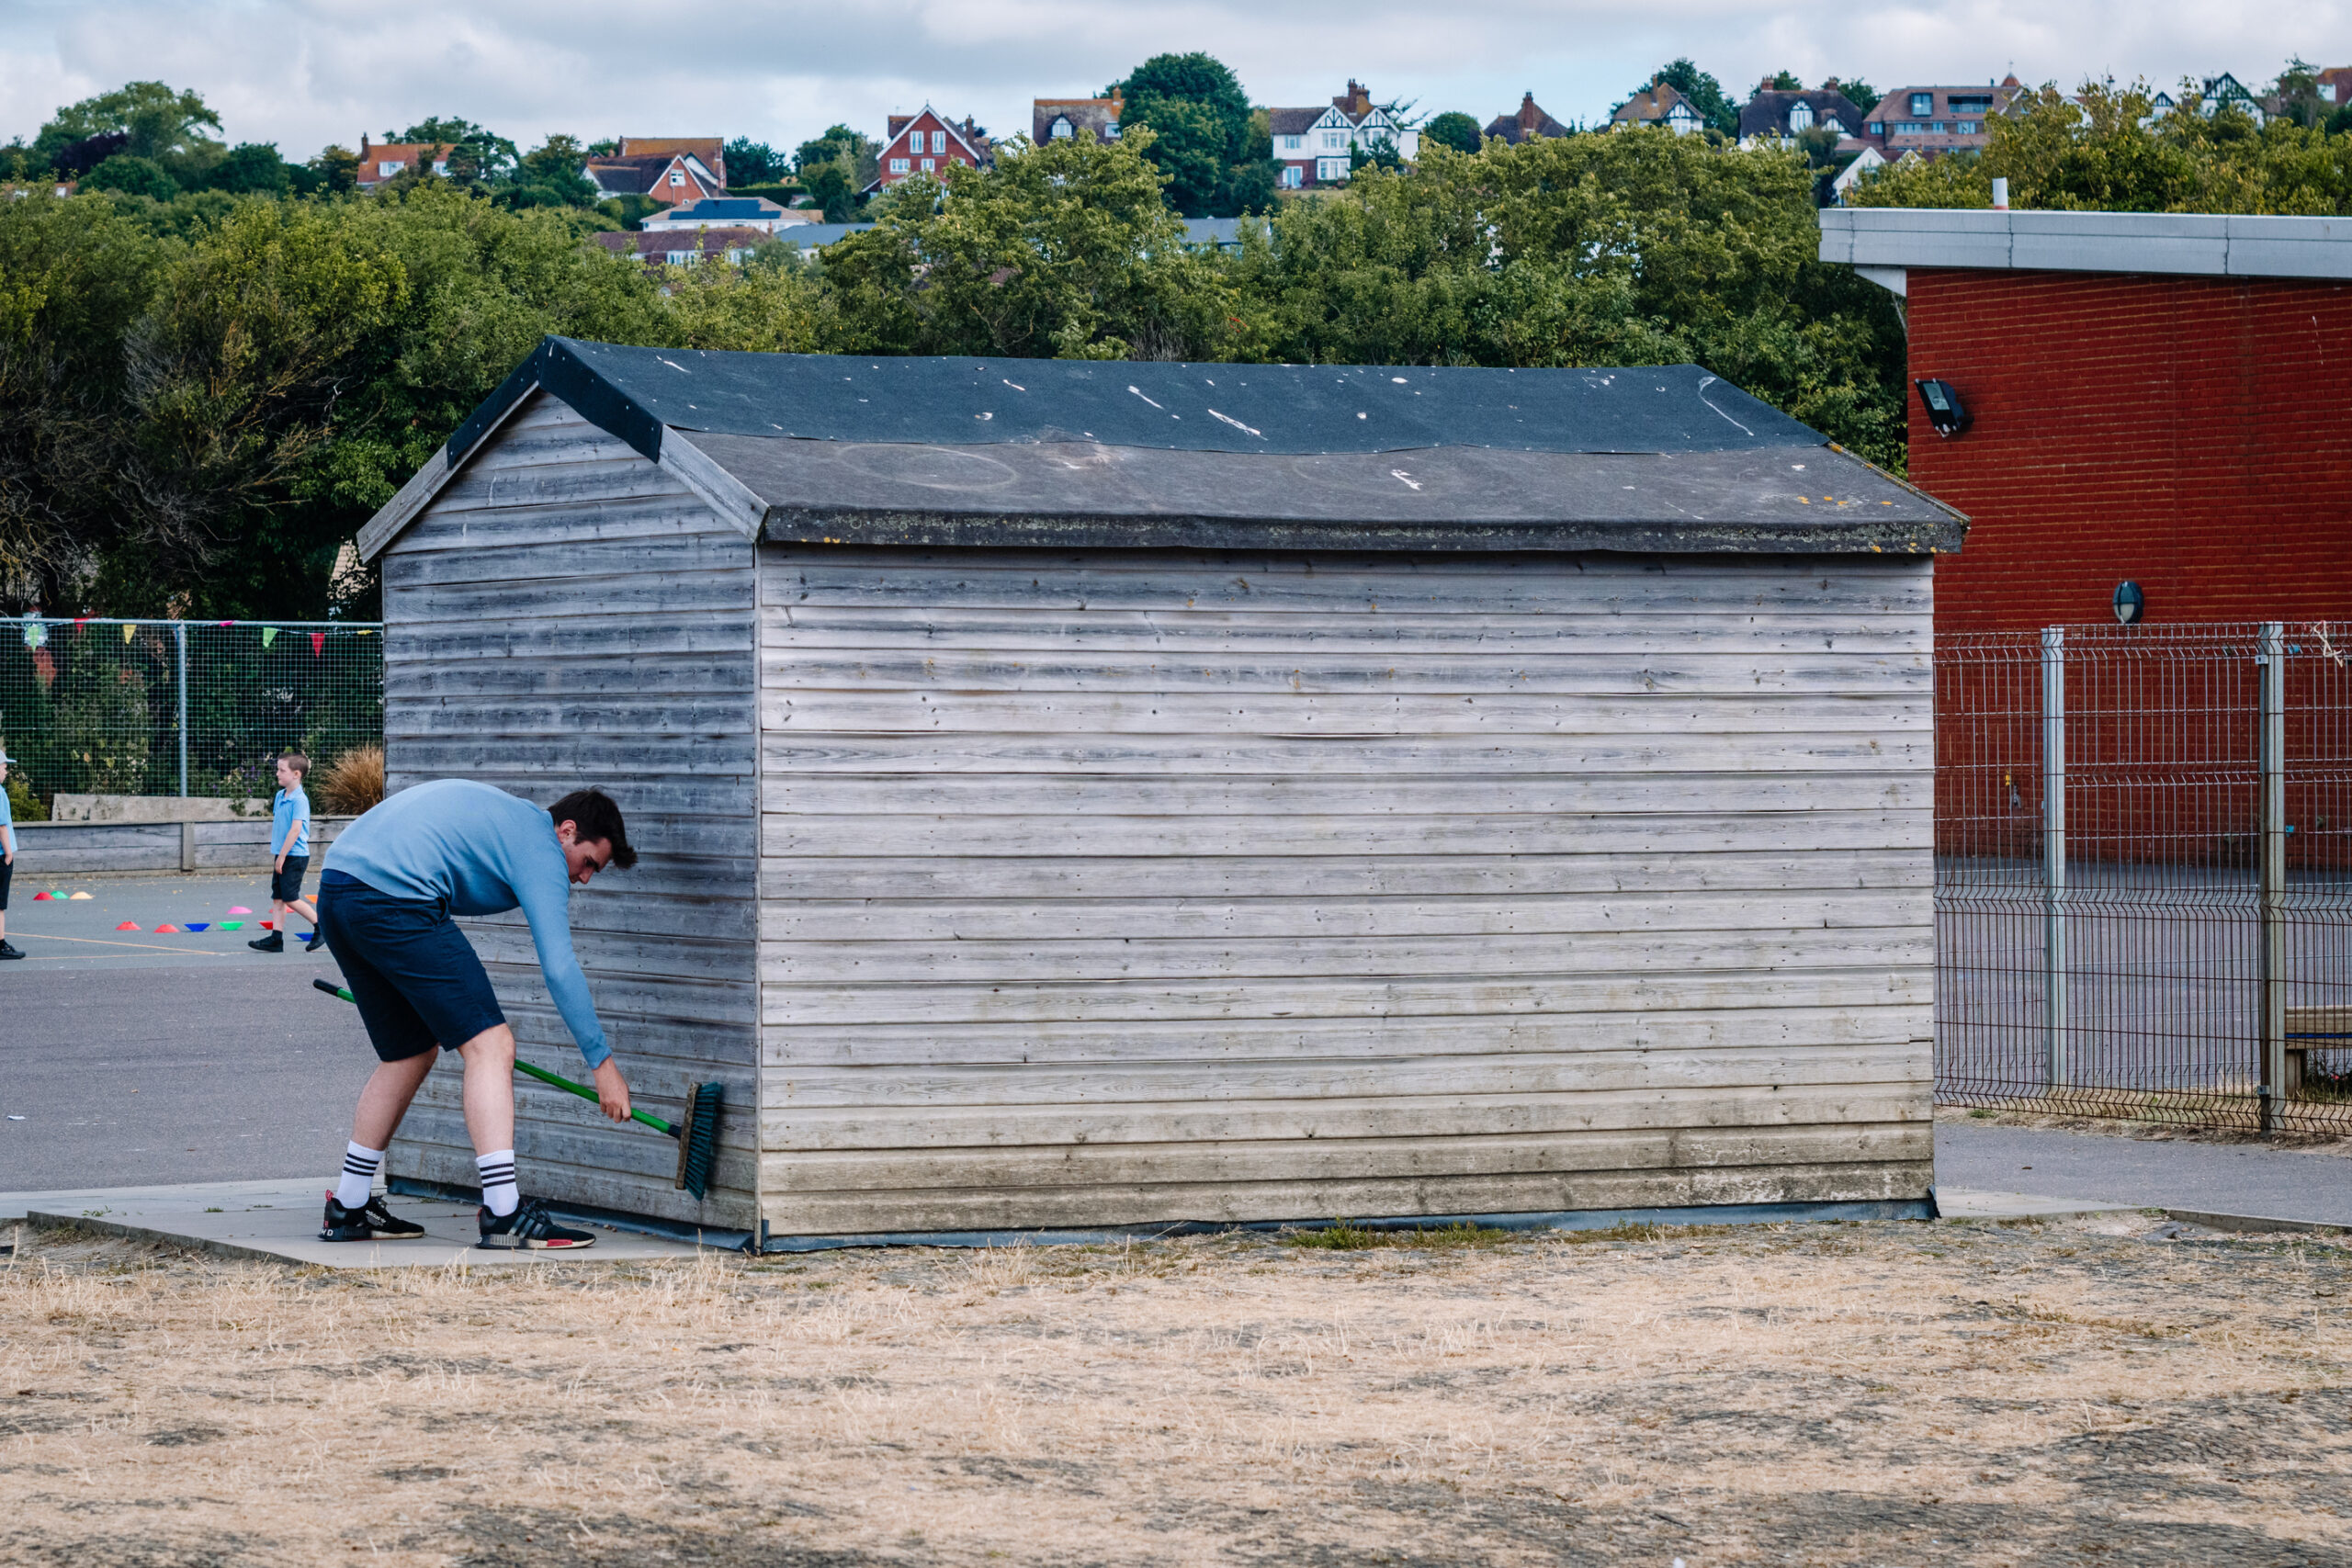
Start with your broom and brush off as much debris and dirt from the shed as possible, once you’ve done that, it’s time to sand your shed (unless it’s new and untreated). Sanding will not only help erase any previous coatings, but it will also remove the top layer of the timber which will reveal a fresh layer of wood ready to adhere to your preserver.
In terms of what type of sandpaper you need, it can all be a bit confusing until you wrap your head around what constitutes to rough or smooth.
So, the lower the number, the rougher (coarser) the sandpaper is; our Sandpaper Sheets range from P80-P400 grit, we recommend that you choose between P80-P120 dependent upon the state your shed is currently in and how much needs to be sanded back.
We can help you choose the right one for your project, give us a call on 01303 477527 and our friendly woodcare experts will be more than happy to assist you with your DIY job.
If your shed is currently coated with another coat of paint and you’re looking at stripping it, take a look at our Wood Finish Strippers & Removers range.
How to Preserve a Shed
Preserving your shed prevents algae and fungi from destroying your sheds visual appeal, here are what you’ll need to protect your shed:
Step 1 – Test Area
Start with a small test area first on a discrete part of the shed, this is to make sure that you are happy with the compatibility and performance of the product.
Step 2 – Dust Sheets
Lay your dust sheets down to prevent the formula from touching the ground and get preserving.
Step 3 – Application
Apply the preserver using your block brush and spread the preserver thinly and evenly across the timber.
It’s really important that you make sure you follow the grain of the wood when preserving and painting with a brush, as this is the most effective way of disguising any brush marks.
Expert Advice
If you are concerned that you may get preserver on parts of your shed that aren’t wood for that professional finish, covering the surrounding edges in masking tape will help prevent any mistakes.
How to Paint a Shed
Now onto that all-important stage, painting your shed – here’s your essentials:
- Bedec Barn Paint Satin
- Exterior Block Brush or Selecta 7 Shed and Fence Spray System
- Dust Sheets
- Masking Tape

Step 1 – Masking Tape
Masking tape is important when painting a shed, get started with your tape and cover all the areas you don’t want paint going on with the tape; latches, handles, hinges, whatever it may be that could end up with paint on it that’s not wood, cover it in masking tape if you want a professional grade look come completion.
After you’re satisfied with the masking tape session, get your dust sheet covering the floor for the area you’re about to paint and pop that paint lid.
Step 2 – The First Coat of Paint
A lot of paints, including Bedec Barn Paint Satin, state that in your first coat only, the formula needs to be mixed with 30% clean water – otherwise the paint will struggle to adhere to the wood.
This may take some time and be frustrating, as you mix small amounts of paint with water, but trust in the process if you want that flawless finish.
Then, it’s time to load that diluted paint into your spray gun or dip your paintbrush into the formula and get painting.
When painting, staining, oiling or preserving anything, we’d always recommend you follow the grain of the wood with your paintbrush for the best finish.
Step 3 – Second and Third Coat
After you’ve applied the first coat, leave it to fully dry for around 2-4 hours, then start with your non-diluted second coat (and then third if needed).

Make sure the wood is fully dry before you apply that next coat otherwise the paint will not adhere to the timber resulting in the paint peeling, flaking and cracking.
Expert Tip – Fancy Using An Oil Instead?
Shed oils are nothing short of expensive, with one of the cheapest options available being Liberon Exterior Wood Protector for just over £60 for 5 litres and the most expensive being Osmo Country Colour, which will set you back over £245 for 5 litres.
However, there’s a saving grace, as Manns Premier UV Decking Oil may have decking slapped across the tin, but is perfect for sheds and fences too and available for around £35 for 5 litres!
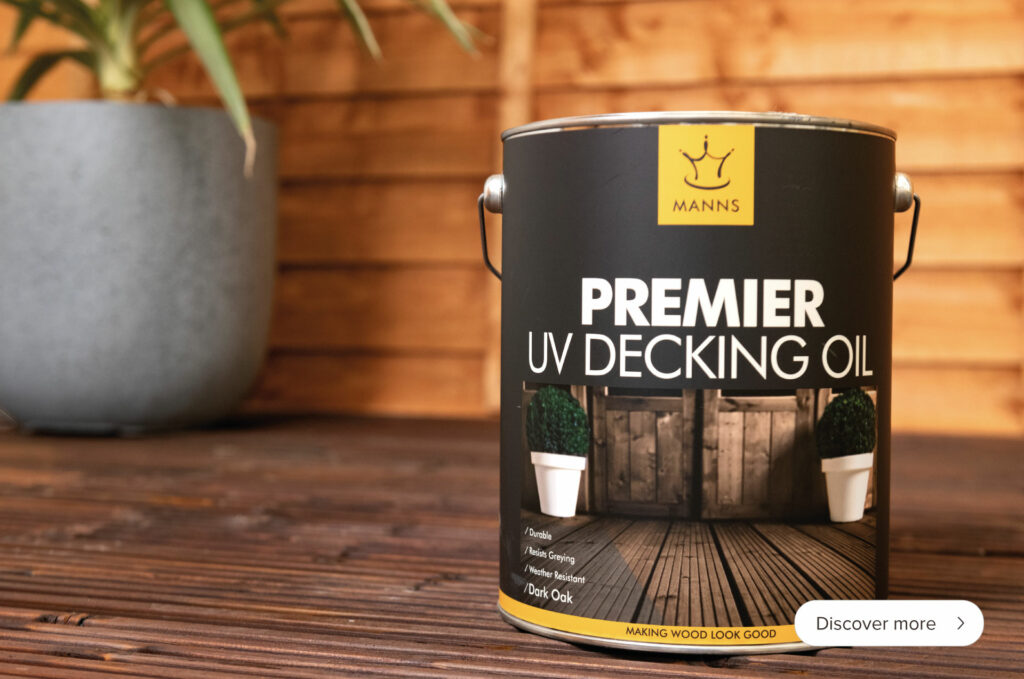
Although it’s only available in 4 natural colours, oils are all about enhancing the aesthetic of the timber, rather than covering it – which is why a more ordinary shade is recommended anyway when using an oil.


