
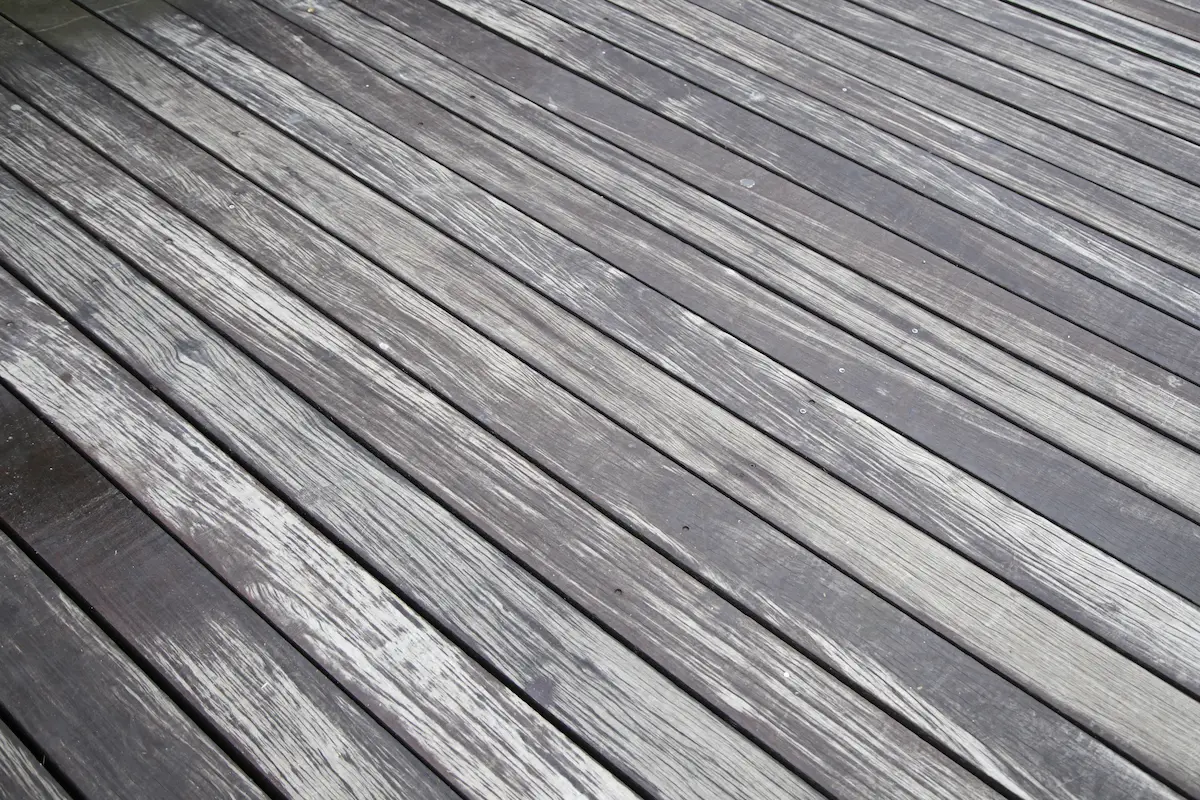
Decking that has been down for a while can reach a point where cleaning and oiling no longer feel like enough. Years of weathering, ingrained dirt, previous coatings and general wear can leave the boards looking patchy, grey and well past their best.
That does not necessarily mean you need to replace them.
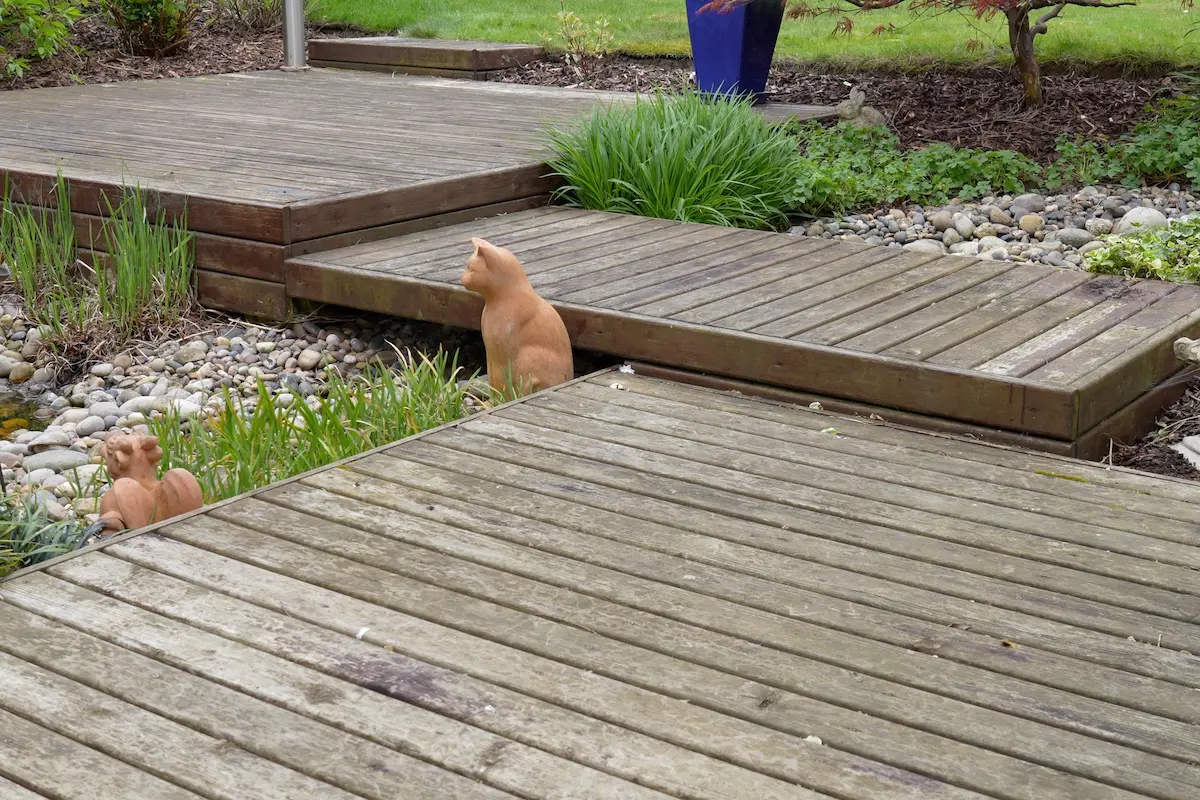
In this project, we transformed a large, multi-level decking area using a thorough preparation process, a suitable wood preserver and an opaque decking paint. The result completely changed the appearance of the garden — and a return visit one year later showed just how important that preparation had been.
Watch the full transformation below to see each stage in action.
Why Choose Decking Paint?
Decking oils and stains work well when you want to enhance the grain and maintain a more natural timber appearance. However, they cannot always disguise heavy weathering, mismatched boards or traces of an old opaque coating.
Decking paint creates a solid, coloured finish. This makes it particularly useful when:
- The boards have turned heavily grey or patchy.
- A previous paint finish remains in places.
- Sanding every board completely back to bare timber would take too much time.
- You want to introduce a new colour to the garden.
- The decking looks tired but remains structurally sound.
A good decking paint can help smooth rough surfaces, disguise cosmetic imperfections and create a more uniform appearance. The Ronseal Ultimate Protection Decking Paint used in this project also fills small cracks and locks down minor splinters while providing protection against weathering and everyday foot traffic.
Paint will not repair rotten timber, however. Check the decking carefully before you begin and replace any soft, badly split or structurally unsafe boards.
What We Used
For this particular restoration, we used:
Barrettine Premier Universal Preserver
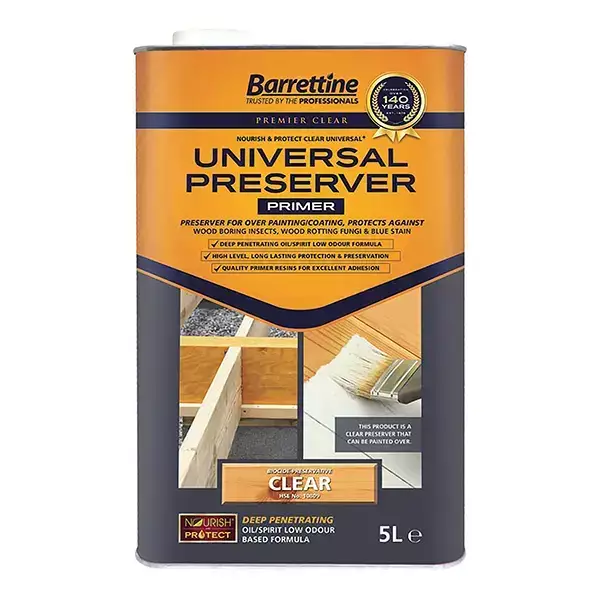
Barrettine Premier Universal Preserver
A low-odour wood treatment without wax that offers microporous protection against wood rot, fungi, decay and mould.
No. of coats: 2-3
Sizes: 1L and 5L
Coverage: Up to 6 m2 per litre
Find out more
This clear, wax-free preserver penetrates absorbent timber and helps protect it against wood-destroying fungi, rot and decay. Because it does not contain wax, you can overcoat it with many suitable water-based or solvent-based paints, oils and stains once it has dried fully.
Ronseal Ultimate Protection Decking Paint in Chestnut
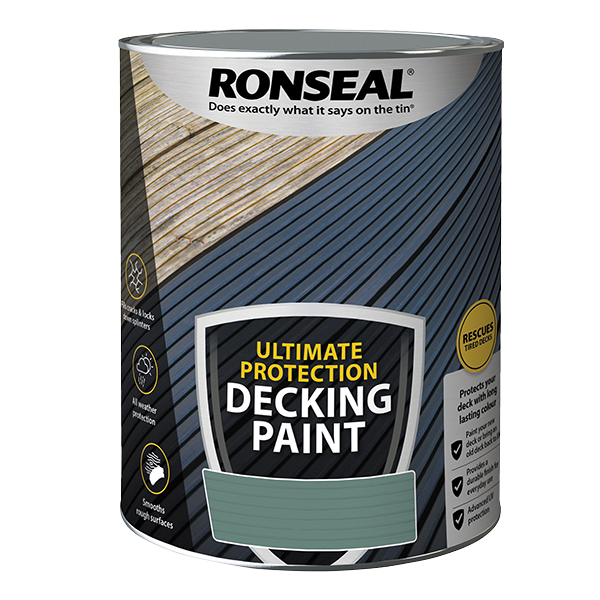
Ronseal Ultimate Protection Decking Paint
A water-based decking paint for softwood and hardwood decking. Provides vibrant colour and lasting protection to old and new decking.
No. of coats: 2
Sizes: 2.5L and 5L
Coverage: Up to 8 m2 per litre
Find out more
This water-based, opaque decking paint works on ridged or smooth softwood and hardwood decking. It suits both new decks and older boards that need a more substantial cosmetic refresh.
Before You Start
Decking restoration is not a one-afternoon job. You need to allow time for cleaning, drying, sanding, preserving and painting.
Choose a period of settled, dry weather and check the forecast for the following few days. Ronseal recommends applying its decking paint on a warm, dry day when the temperature sits above 10°C.
You will also need:
- A stiff broom or decking brush
- A scraper or narrow tool for clearing the board gaps
- A pressure washer or garden hose
- A sander and suitable abrasive sheets
- A dust mask and eye protection
- A synthetic brush for the solvent-based preserver
- A decking brush or applicator pad for the paint
- Gloves and protective clothing
Always read the instructions on the current product tins before starting. Manufacturers can update formulations and application guidance over time.
Step 1: Clear and Inspect the Decking
Remove furniture, plant pots, barbecues and anything else sitting on the deck.
Do not simply work around heavy pots. Containers that remain in one position for months can trap moisture and encourage algae, dirt and decay underneath them. Moving everything also gives you a chance to inspect the complete surface.
Check for:
- Rotten or soft timber
- Loose boards
- Protruding screws or nails
- Deep cracks
- Damaged handrails or steps
- Areas that remain unusually damp
Secure loose fixings and replace unsafe boards before you begin decorating. Paint may improve the appearance, but it cannot restore the strength of damaged timber.
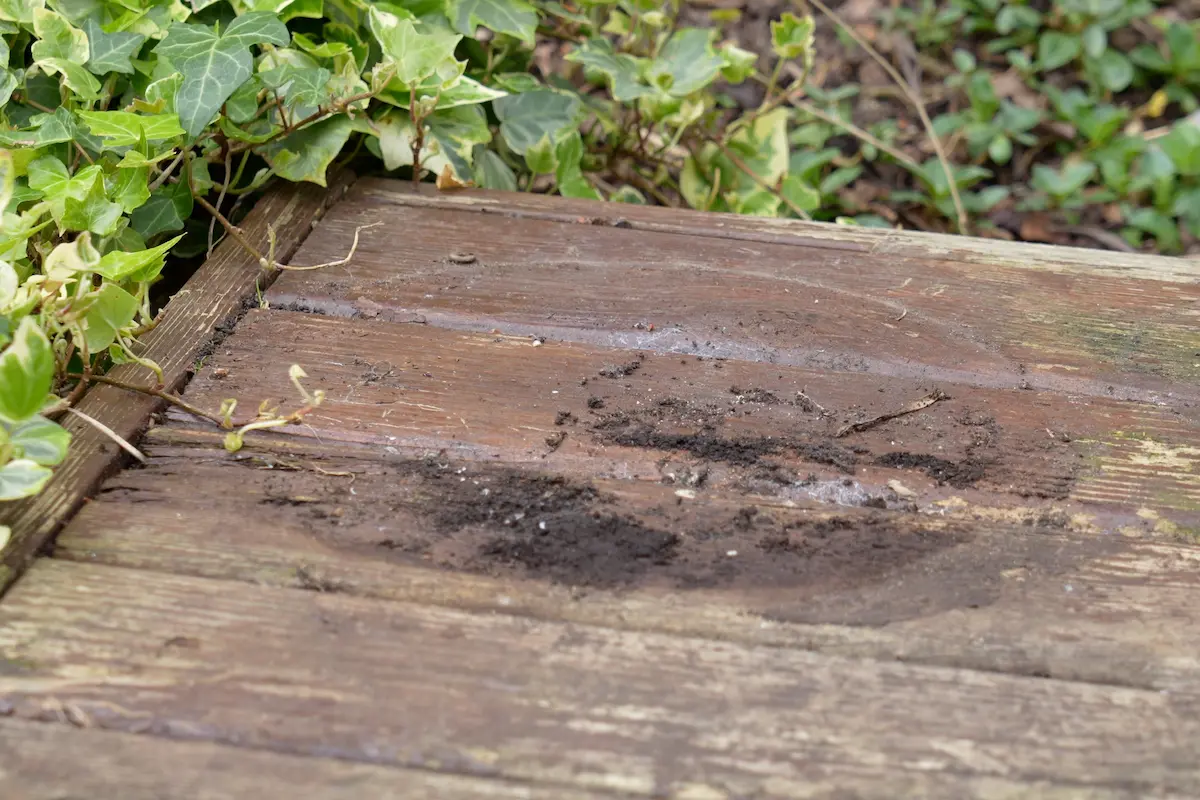
Step 2: Sweep Thoroughly
Give the entire deck a firm sweep and pay close attention to the grooves and gaps between the boards.
Leaves, soil and organic debris often collect in these spaces. When the material stays wet, it encourages moss and algae and prevents water from draining away efficiently.
Use a scraper, narrow brush or suitable raking tool to loosen stubborn material. Take care not to damage the edges of the boards.
The aim is not just to make the surface look cleaner. You want to remove anything that could interfere with the new treatment or hold moisture against the wood.
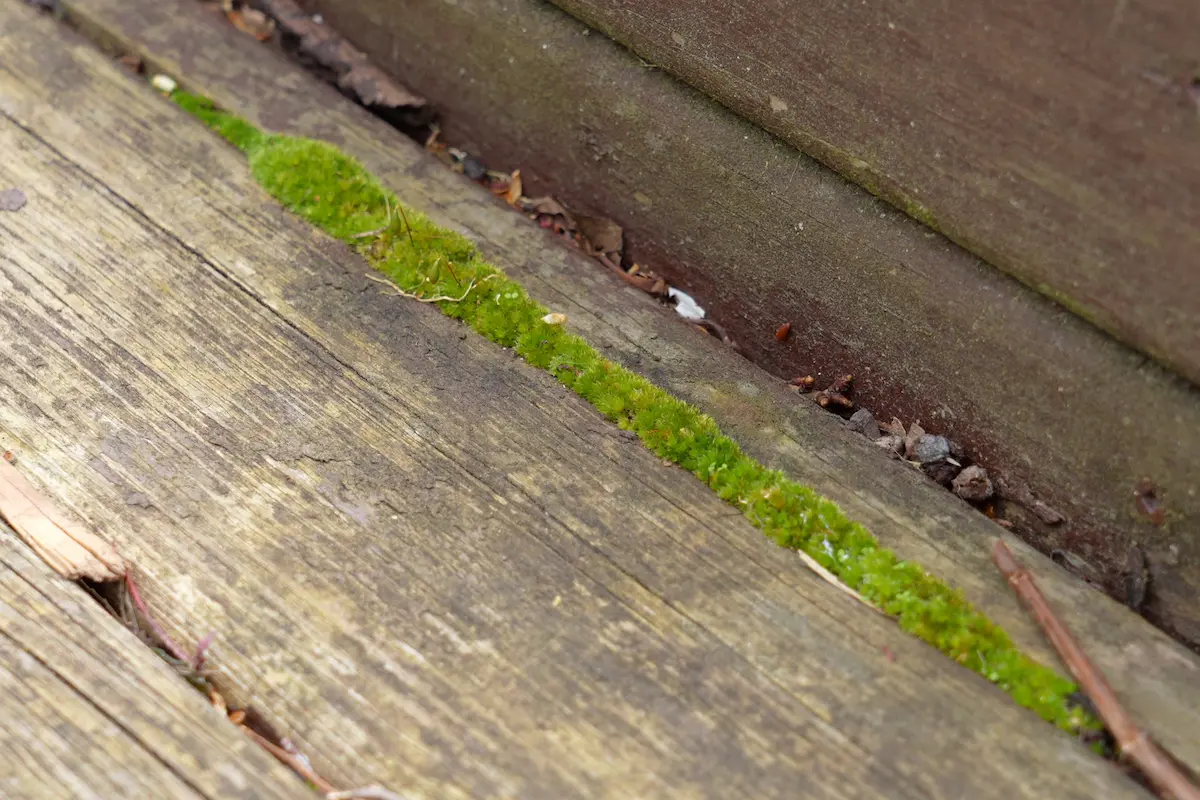
Step 3: Wash Away Dirt, Moss and Algae
Once you have removed the loose debris, wash the decking to tackle ingrained dirt and biological growth.
A suitable decking cleaner can help break down moss, mildew, algae and grime. These contaminants need more than a quick sweep, particularly if the decking becomes slippery during wet weather.
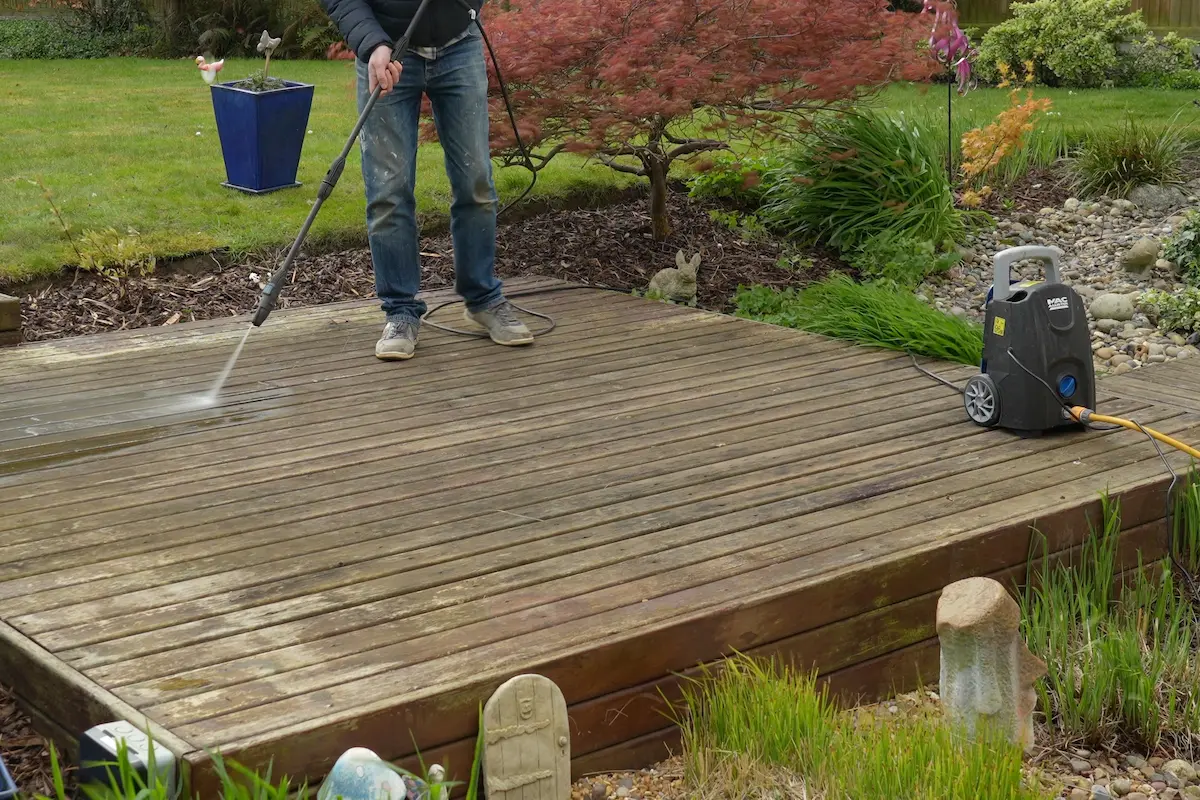
You can also use a pressure washer, but keep the pressure controlled. Hold the lance at a sensible distance and work along the grain rather than attacking one small area at close range.
An overly powerful jet can tear into softwood and raise the fibres, leaving the boards rough and furry. The follow-up video from this project recommends a gentle power wash for exactly this reason.
Ronseal advises removing mould, moss and algae, rinsing the decking thoroughly and allowing it to dry fully before applying the paint.
Step 4: Let the Wood Dry Properly
Do not rush from washing straight into sanding or painting.
Water can remain within decking boards long after the surface begins to look dry. Applying a coating over damp wood can trap moisture and seriously weaken adhesion.
In this project, we allowed the decking to dry for just over two days before continuing. You may need longer during cooler or more humid weather, particularly in shaded areas.
Pay special attention to the sections underneath pots, close to walls and around steps. These areas often dry more slowly than open boards exposed to the sun and wind.
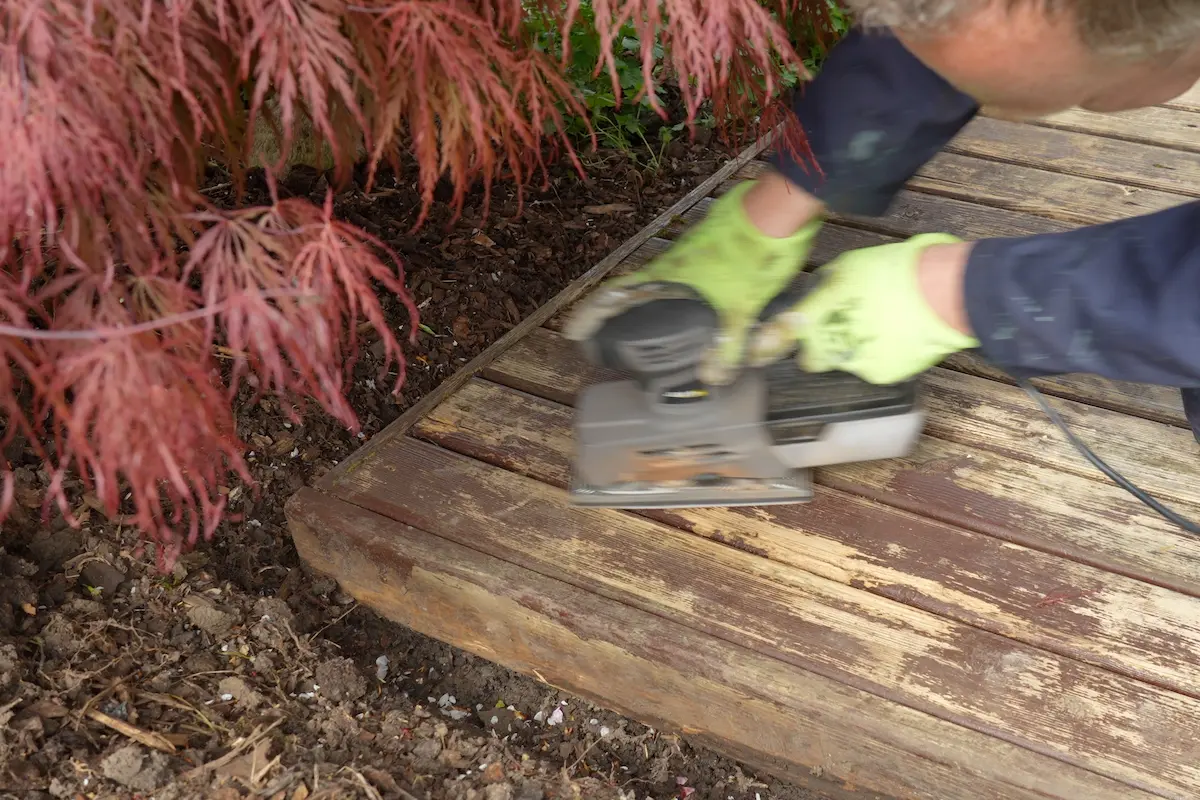
Step 5: Sand Away Loose Paint and Rough Timber
You do not necessarily need to remove every trace of an old coating when you plan to apply another compatible opaque paint. You do, however, need to remove anything loose, flaky or poorly attached.
Sand the boards to:
- Remove peeling paint.
- Smooth raised wood fibres.
- Reduce stubborn weathering marks.
- Soften sharp edges and splinters.
- Create a suitable key for the new coating.
Concentrate on the transitions between bare timber and remaining paint. Hard ridges around old coating patches can still show through the finished surface if you leave them untouched.
After sanding, sweep or vacuum away all dust. Pay attention to the grooves and gaps again, as sanding debris can quickly collect in them.
The surface should now feel sound, clean and stable rather than perfectly new.
Step 6: Decide Whether the Decking Needs a Preserver
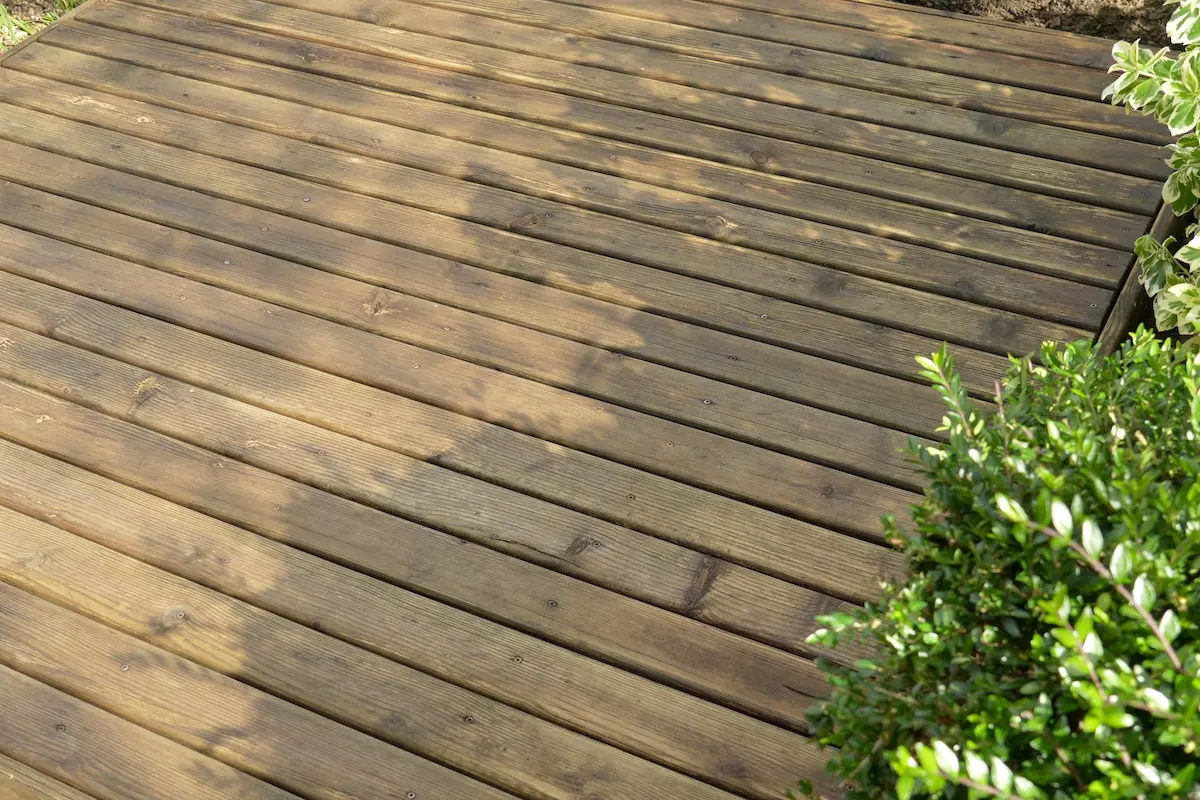
A separate preserver will not be necessary for every decking project. Newer pressure-treated boards or timber that remains in excellent condition may already have adequate protection.
For this restoration, the decking was old and had received little attention for several years. We therefore took a belt-and-braces approach and applied two coats of Barrettine Premier Universal Preserver before adding the decorative topcoat.
A preserver can prove useful when:
- Large areas of bare timber have become exposed.
- The boards are older and highly absorbent.
- The deck has experienced prolonged damp conditions.
- You want additional protection against fungal decay.
The preserver needs to penetrate the wood, so apply it to clean, dry and absorbent timber. It cannot soak through sound areas of existing paint.
Barrettine recommends applying at least two thin, even coats with a suitable synthetic brush. Allow 6–12 hours between coats and treat exposed end grain, drilled areas and cuts carefully. Under normal conditions, allow approximately 24 hours before applying a compatible topcoat. Cooler temperatures or high humidity may extend these times.
Always test the complete coating system on a small, inconspicuous area first.
Step 7: Apply the First Coat of Decking Paint
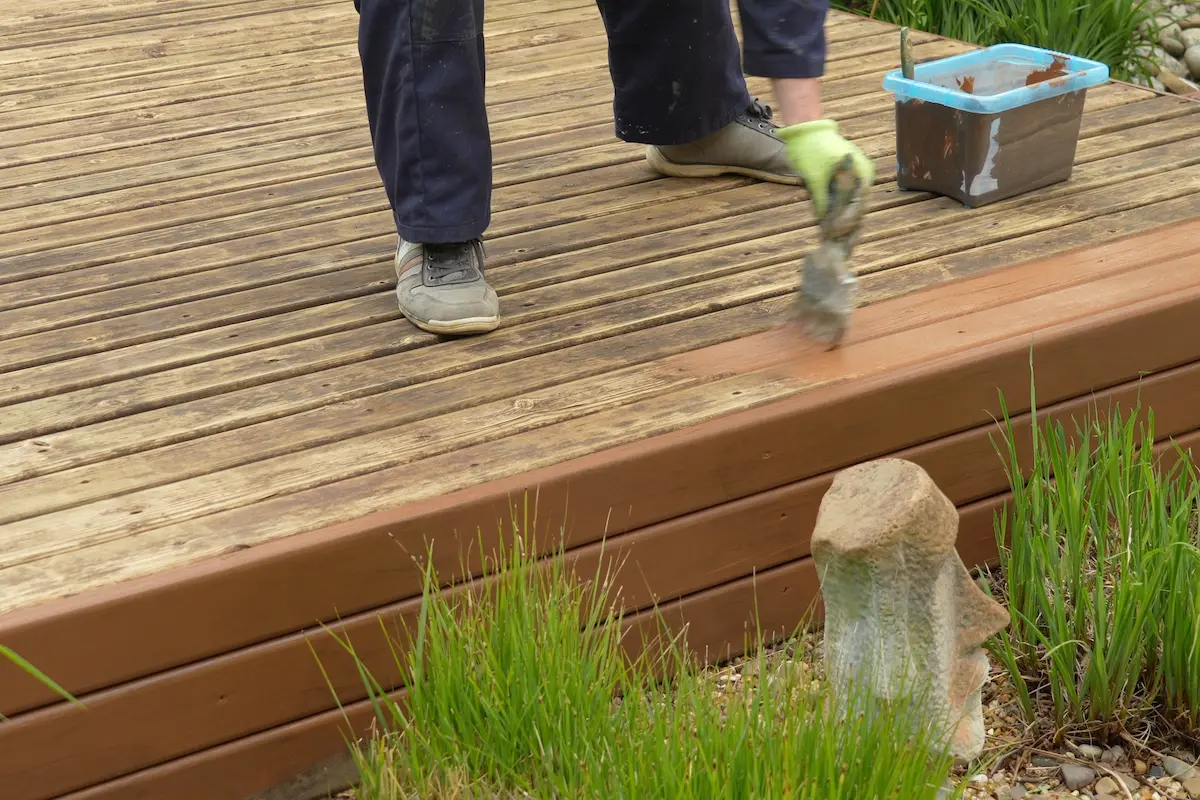
Once the preserver has dried completely, stir the decking paint thoroughly. Pigment can settle during storage, so continue to stir periodically as you work.
Test the colour in a discreet area before painting the entire deck. Colours can look different on the timber than they do on a printed label or screen.
Start at the furthest point and work back towards your exit. It sounds obvious, but planning your route prevents you from painting yourself into a corner.
Work along the length of two to four boards at a time. Completing whole boards helps you maintain a wet edge and reduces visible overlap marks.
Use the brush to work paint into the grooves, cracks and textured areas, but avoid leaving heavy pools between the boards. Excessive coating in the gaps can restrict drainage or remain soft for longer.
Ronseal recommends two coats, applied with a good-quality decking brush or applicator. The manufacturer quotes coverage of up to 8–10m² per litre, although rough or highly absorbent boards may use more.
Step 8: Apply the Second Coat on Time
The interval between coats matters.
For Ronseal Ultimate Protection Decking Paint, apply the second coat after approximately four hours and do not allow more than four to six hours between coats. Leaving the first coat for too long can prevent the second coat from bonding correctly.
Check the weather, temperature and product instructions before you begin the first coat. Make sure you have enough daylight and dry weather to complete both coats within the recommended window.
Use the same application method for the second coat:
- Stir the paint.
- Work along complete boards.
- Maintain a wet edge.
- Brush out thick patches.
- Check grooves and edges for missed areas.
The second coat develops the full colour and provides a more consistent, durable finish.
Step 9: Let the Paint Harden
A surface can feel touch-dry before it has hardened enough to withstand furniture and foot traffic.
Ronseal recommends waiting 48 hours before using the decking or replacing garden furniture. Temperature and humidity can affect the curing time, so give it longer if conditions turn cool or damp.
Lift furniture into position rather than dragging it across the new finish. Adding suitable feet or pads beneath heavy pots can also reduce trapped moisture and minimise scratches.
The Finished Transformation
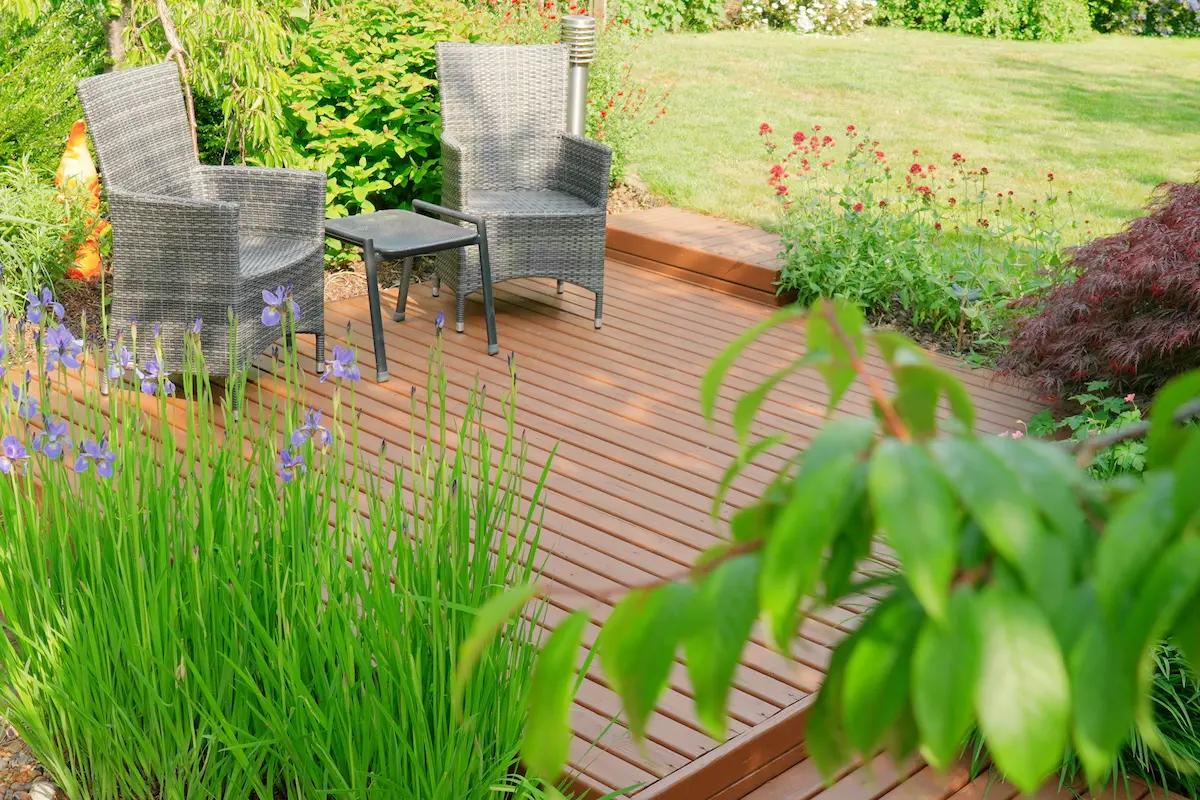
The Chestnut shade gave the decking a warm, uniform appearance while covering the grey timber and remaining signs of its previous finish.
More importantly, the preparation created a sound foundation beneath the colour. We did not simply brush paint over dirt and hope for the best. We cleaned the boards, removed moss, allowed the timber to dry, sanded unstable areas and added preservative protection before applying the final coating.
That process required more effort at the beginning, but it gave the paint a far better chance of succeeding.
One Year Later: Did the Decking Paint Last?
A freshly painted deck can look impressive on the day you finish it. The more useful test comes after it has experienced a full year of foot traffic, rain, sunlight and changing temperatures.
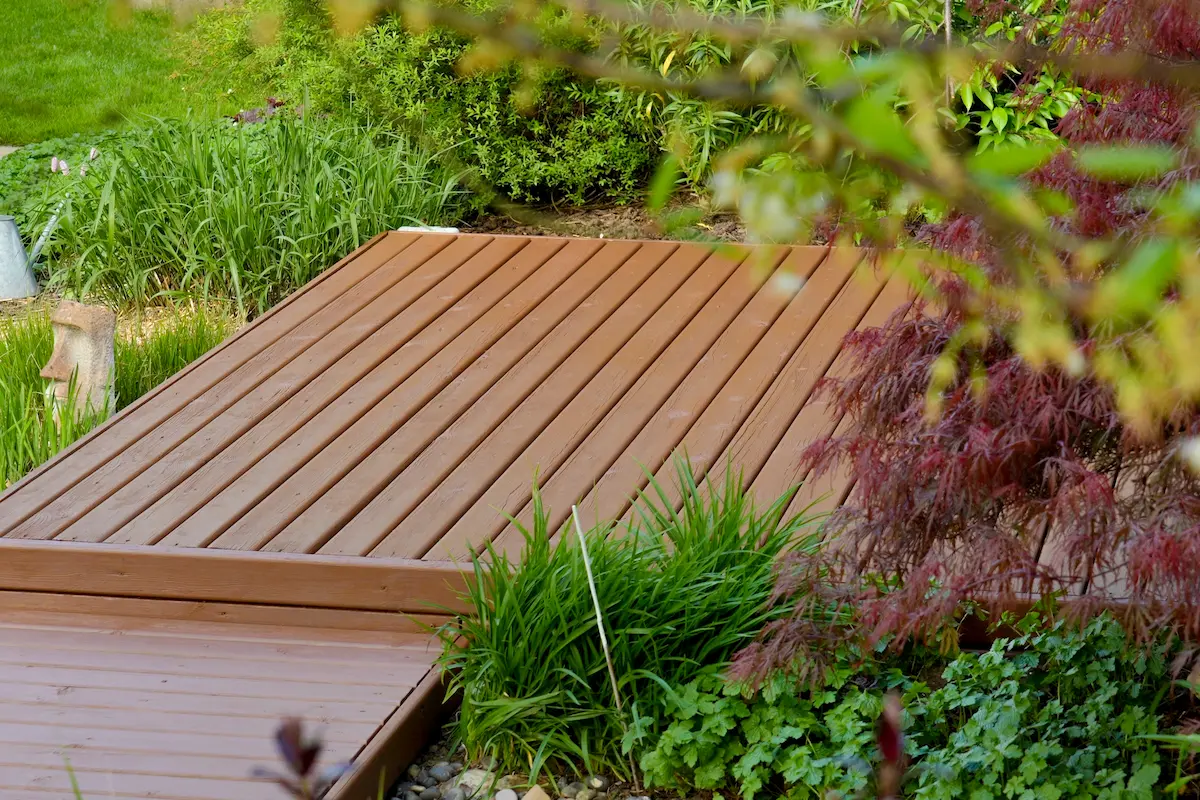
We returned to this decking twelve months later to see how the finish had performed.
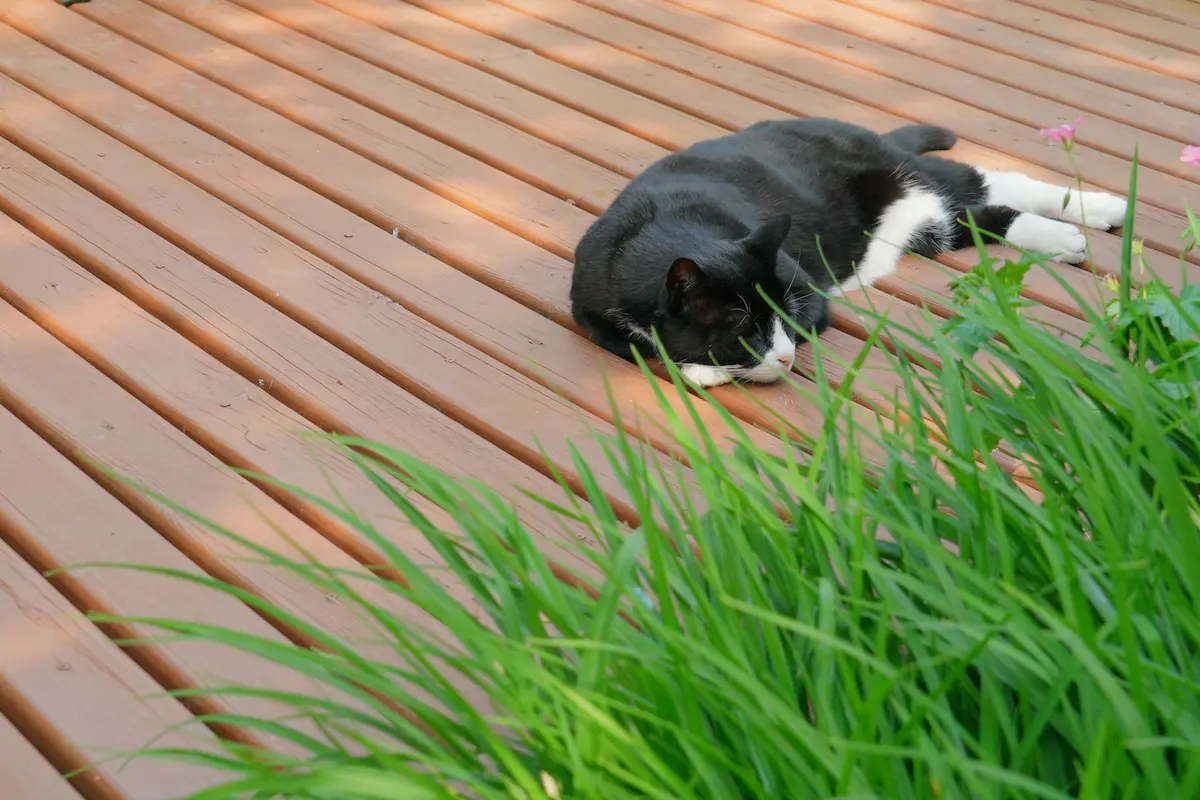
The deck had received regular family use throughout the year. Despite that, the paint still looked remarkably consistent. We found no obvious flaking, significant fading or visible sun damage across the main areas shown in the follow-up video.
Naturally, one year does not tell us everything about the complete lifespan of a coating. Different decks experience different levels of exposure, moisture and wear. However, the result gives a strong indication that the preparation and careful application paid off.
Common Decking Painting Mistakes
Painting Damp Wood
Moisture can prevent the paint from bonding properly. Give washed decking plenty of time to dry, including shaded areas and board gaps.
Leaving Loose Paint Behind
New paint cannot secure a failing coating underneath it. Scrape and sand until the remaining surface feels stable.
Using Too Much Pressure When Washing
An aggressive pressure washer can damage softwood and raise the fibres. Use controlled pressure and keep the nozzle moving.
Ignoring Moss Between the Boards
Material trapped in the gaps retains moisture and can quickly make the completed deck look neglected again.
Missing the Recoat Window
Some coatings have a maximum recoat time as well as a minimum one. Plan the job so you can apply both coats within the manufacturer’s instructions.
Using Ordinary Exterior Paint
Decking experiences foot traffic, standing water and horizontal exposure. Use a product specifically designed for decking rather than a general garden paint intended for fences or sheds.
Replacing Furniture Too Quickly
Touch-dry does not mean fully cured. Give the paint enough time to harden before walking on it or moving furniture across it.
Decking Paint, Oil or Stain?
Choose the treatment according to the condition of the deck and the appearance you want.
Choose decking paint when you want an opaque colour that disguises grey timber, patchiness and cosmetic imperfections.
Choose decking stain when you want to add colour while keeping more of the wood grain visible.
Choose decking oil when the timber remains in reasonable condition and you want to nourish it while retaining its natural character.
Paint offers excellent covering power, but it will also require careful preparation when the time eventually comes to recoat. Oil generally provides a more natural look and simpler maintenance, but it will not hide heavily weathered or mismatched boards.
How to Maintain Painted Decking
Sweep the area regularly to stop leaves, soil and debris from accumulating.
Clean away algae as soon as it appears, especially in shaded or damp sections. Avoid harsh tools or cleaning products that could damage the paint film.
Move plant pots occasionally to allow the boards underneath them to dry. You can also raise pots slightly with feet or stands to improve airflow.
Inspect the deck each spring for scratches, worn pathways and isolated damage. Ronseal recommends checking the coating annually and applying a maintenance coat when necessary.
Addressing a small worn area early usually requires far less work than waiting until the coating begins to fail across the entire deck.
Frequently Asked Questions
Can You Paint Over Previously Painted Decking?
Yes, provided the existing coating remains firmly attached and is compatible with the new product. Remove all loose and flaking material, clean the boards thoroughly and sand the sound coating to create a key.
Do You Need to Remove All the Old Decking Paint?
Not necessarily when applying another suitable opaque decking paint. You must remove any unstable material, however. If large areas are peeling or the old coating has poor adhesion, more extensive stripping may produce a better result.
Can You Paint Grey Decking?
Yes. An opaque decking paint can cover grey timber effectively, provided the boards remain structurally sound, clean and dry.
Do You Always Need a Wood Preserver?
No. The need for a preserver depends on the age, condition and previous treatment of the timber. It can provide valuable additional protection for older, exposed and absorbent boards. Check compatibility with the chosen topcoat before applying it.
Can You Pressure Wash Decking Before Painting?
Yes, but use moderate pressure. Keep the nozzle moving and avoid holding it too close to the timber. Allow the decking to dry completely afterwards.
How Many Coats of Decking Paint Should You Apply?
Ronseal Ultimate Protection Decking Paint requires two coats. Other products may differ, so always follow the instructions supplied with your chosen paint.
How Long Should Decking Paint Dry Before Use?
For the product used here, allow at least 48 hours before replacing furniture or returning the decking to normal use. Poor drying conditions may extend that time.
Is Painting Old Decking Worth It?
When the underlying timber remains safe and solid, painting can completely transform decking that might otherwise appear ready for replacement.
The finish will only perform as well as the preparation beneath it. Remove dirt and biological growth, let the boards dry, sand away unstable material and follow every drying and recoat time carefully.
As our one-year inspection demonstrated, proper preparation can make the difference between a temporary cosmetic improvement and a finish that continues to look good after a full year of regular use.
Explore our full range of decking paints, decking cleaners, and wood preservers and or contact our Woodcare Experts on 01303 477555 for advice on the most suitable system for your decking.
Read More Decking Articles in This Series
Why Use A Decking Preserver
Do you really need a decking preserver, or can you go straight in with your oil, paint or stain? Read more
Decking and Wood Revivers
Don’t panic, your decking may simply need a thorough clean and revival. Read more
How to restore and oil your decking
The complete process to restore neglected wooden decking back to its former glory. Read more
Help with your decking dilemma
Oil? Stain? Paint?
We help you choose.
Read more

Complete garden protection
3 great products to transform a new build garden. Read more