In this video Jay from Wood Finishes Direct will show you how to apply the Osmo Door Oil and the best applicator for the job.
Door Oil FAQ
I have new, solid Meranti internal doors and would like a finish that retains the natural colour of the wood.
The colour of Meranti can vary from pale-red to a darker reddish brown. Applying a clear oil will enhance the natural colour and character of the wood but will also darken it giving it almost damp-like appearance. A way to test how the doors may look with an oil or varnish is to dampen a section with a clean sponge dampened with water. If this colour is desirable, Osmo Wood Wax Finish Extra Thin (1101) is perfect for protecting hardwoods, such as Meranti as it is thinner and can penetrate deeply into the tighter grain, whilst still giving a high level of protection from dirt, scuffs and abrasions.
Oils such as Osmo Door Oil Raw 3033 are perfect for lighter species of hardwoods such as Oak and will keep the wood looking as natural as possible, whilst still offering protection from moisture, fingerprints and knocks.
It is very important to do a test area when considering these products and especially so with darker shades of Meranti, Walnut and other hardwoods as these oils will often leave a slightly milky looking finish.
Before you Buy – Osmo Door Oil transcript.
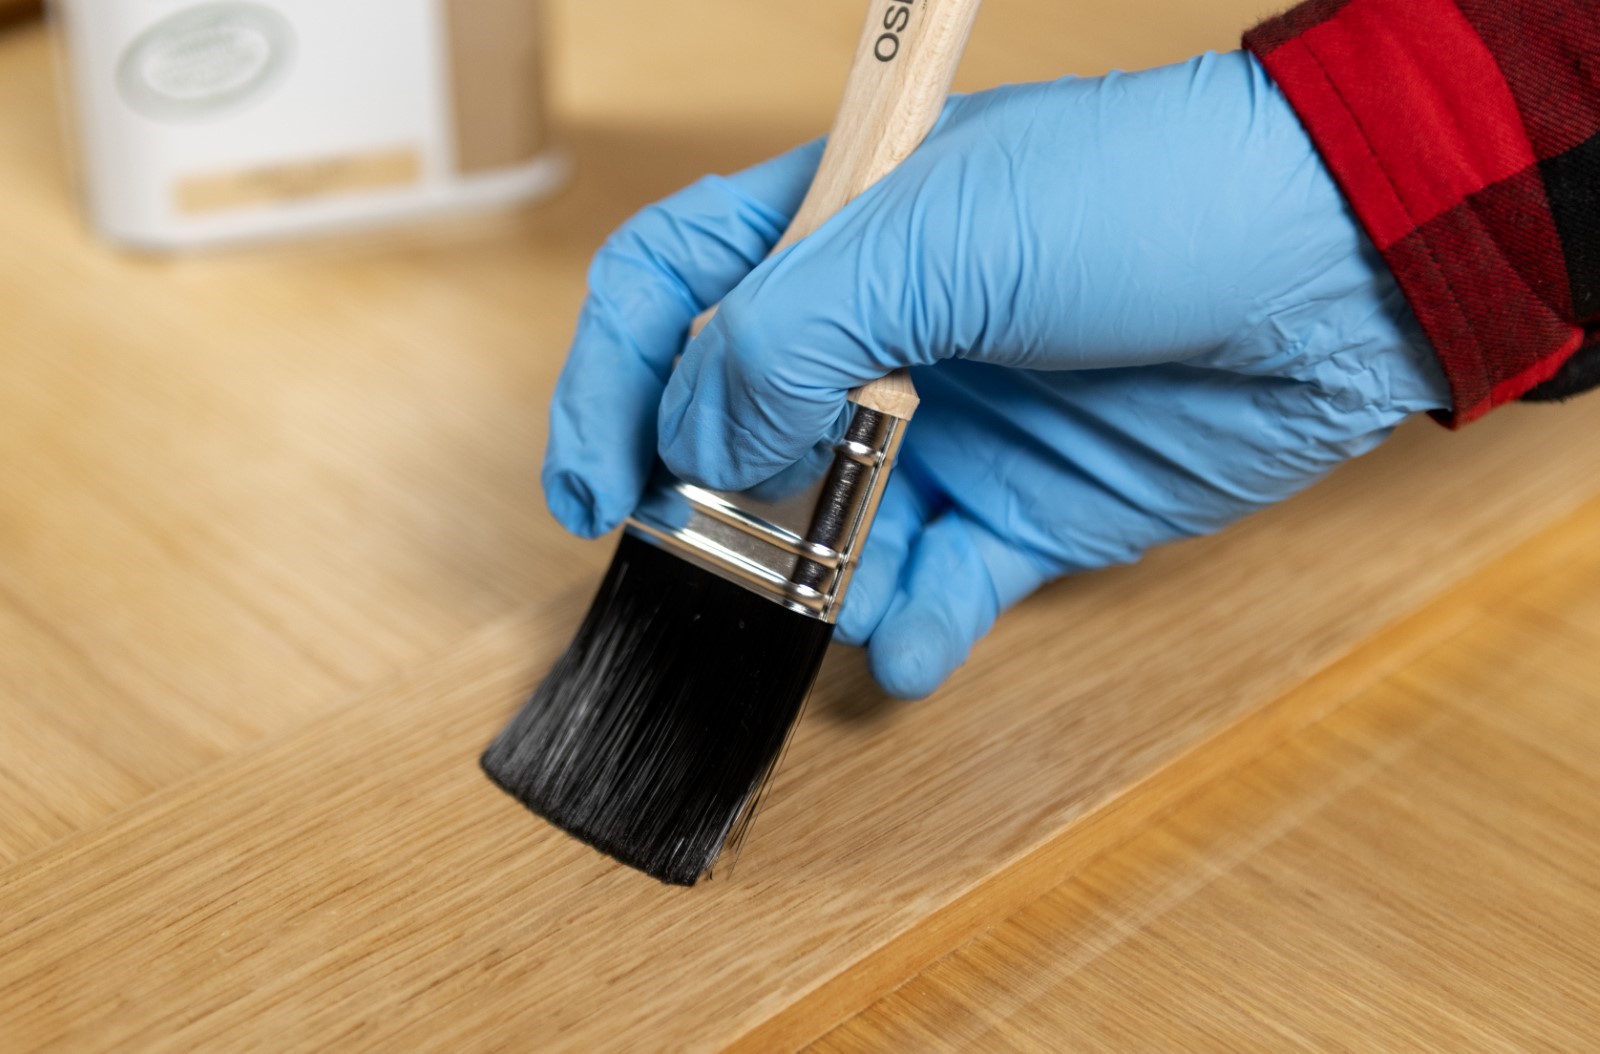
Hey, I’m Jay from Wood Finishes Direct. In this video I’ll be demonstrating the best way to apply the Osmo Door Oil, wondering why this door is unhung? Check out the before you buy to find out why and learn some other great tips.
Behind every good finish is a good applicator. And for projects like doors, I like to use the Osmo flat Brush, it gives you a great level of control with projects like doors. I always have a few in my arsenal.
So by now, I trust you’ve done your test area and are ready to apply, you’ve got the door down, furniture removed and you’ve given the Door Oil a good stir and decanted it into your paint tray. Theres only one more thing to do. Take the plunge, dab off any excess, And apply. Making sure to work with the grain in long even strokes, and working in manageable areas.
Once applied remove the surplus using a microfibre cloth and leave to dry for 6 hours.
I’m sure you’ll agree that it looks great so far [rub the board]. Now you have an extremely important step… you need to give it a rub over with a finishing pad – this keys the surface and helps the second coat soak in, smooths out any inconsistencies and gives you better finish all round.
The end is in sight! Now apply the second coat as you did the first making sure you remove all excess then you’re done with this side, ready to flip over and repeat the process but this time including the two sides and top and bottom. Once dry your door is ready to have its furniture applied and to be hung. All done.
If you’re seeking technical assistance or advice on your project, why not put us to the test and give us a call or email? We’re experts after al. All the products used in this video are linked in the description on Youtube. Like what you’ve seen? Don’t forget to like and subscribe for future content.
Other Post You Will Love!
Traditional wood oils – 3 of the best


Is OSMO food safe? Should it be used on chopping boards?
What is the best OSMO product to use on a bath shelf were it’s lightly to get wet.
Hi David,
The Osmo Top oil is food safe and suitable for chopping boards. For the bathroom, you will need 1 coat of the Osmo Wood Protector (4006) followed by the Osmo Polyx Oil or The Osmo Wood Wax Finish Extra Thin (1101) if it is a dense exotic hardwood. Hope that helps! Alison.
Hi
You have not said if you need to be careful not to over apply accidently of the edges ? As you may end up with 3 coats in places if so will it effect the finish by having darker patches on door edge. Perhaps that won’t happen ? Experience tells me it will.
Hi Roger,
Any excess oil can be wiped off when the oil has been on the surface of the wood for approximately 5-10 minutes. If this is carried out on both coats then excess oil will not build up.
Hope this helps!