
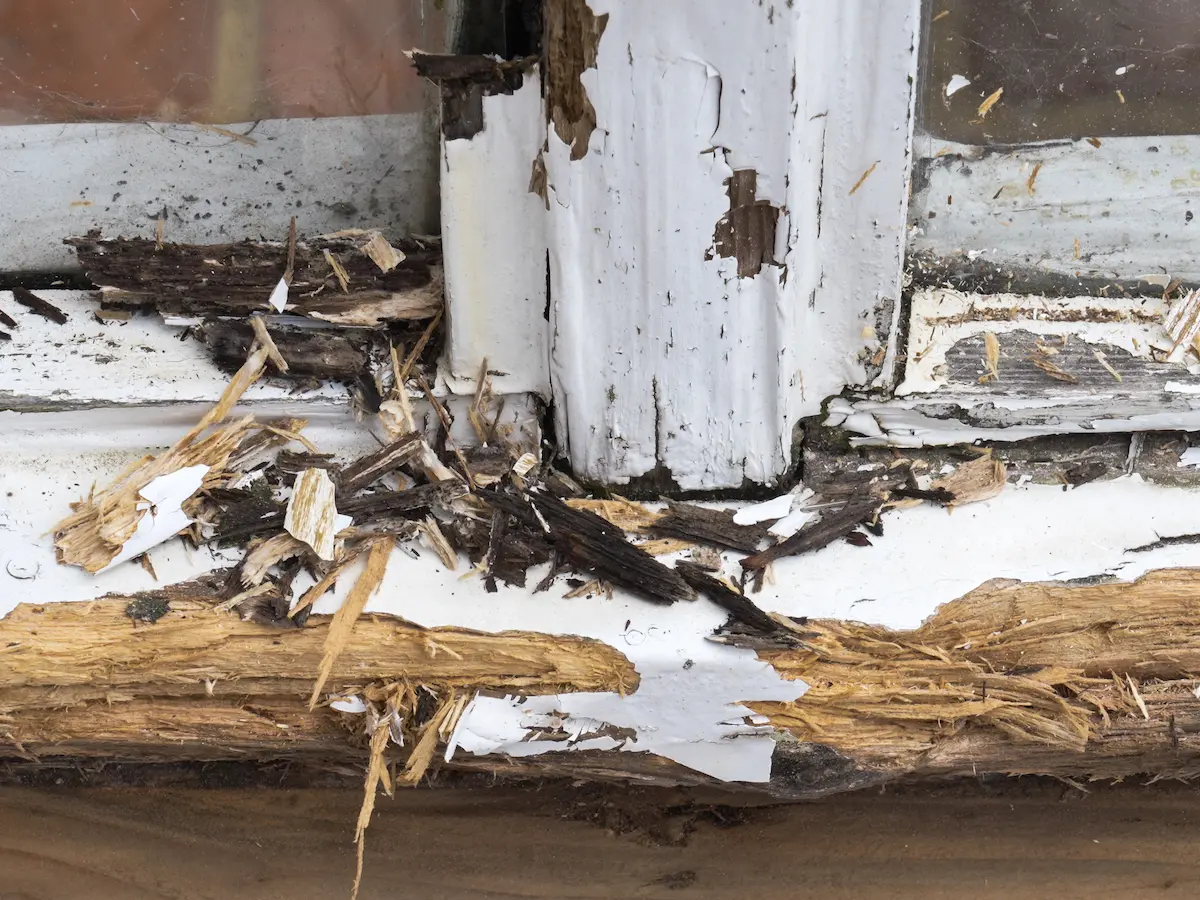
If you’re wondering how to repair rotten timber, the good news is that damage doesn’t necessarily mean replacing an entire window, door, sill or section of joinery.
If the damage is localised and enough sound timber remains, a specialist repair system can often be used to remove the decayed material and rebuild the damaged area instead. That’s the thinking behind the Repair Care DRY FLEX range.
Watch us repair rotten timber with DRY FLEX 4
In our DRY FLEX 4 video, we tackle badly deteriorated exterior timber and go through the preparation, DRY FIX treatment, mixing, application, shaping and finishing process.
Repair Care products are designed specifically for repairing and restoring damaged timber, including windows, doors, fascias, soffits, stairs and furniture. Rather than treating DRY FLEX as an ordinary wood filler, however, it’s better to think of it as a wood repair system.
In this guide, we’ll take you through Repair Care’s seven basic steps to a durable timber repair, explain where DRY FIX UNI fits into the process, and look at the differences between DRY FLEX 1, DRY FLEX 4, DRY FLEX 4 2-in-1 and DRY FLEX 16.
What is Repair Care DRY FLEX?
DRY FLEX is a range of flexible two-component epoxy repair compounds designed for repairing decayed and damaged timber.
Once cured, the material can be shaped, sanded and finished so that the repaired section blends back into the original woodwork.
One of the important differences between the DRY FLEX products isn’t really how you use them. The preparation and repair process remains broadly the same.
The key differences are working time, curing time and the size or complexity of the repair.
Which DRY FLEX should you use?
| Product | Best suited to | Working/open time | Approx. cure time |
|---|---|---|---|
| DRY FLEX 1 | Small, fast repairs | Up to 20 mins | 1 hour |
| DRY FLEX 4 | Small to medium repairs and same-day work | Up to 25 mins | 4 hours |
| DRY FLEX 4 2-in-1 | Smaller repairs and occasional use | Up to 25 mins | 4 hours |
| DRY FLEX 16 | Larger or more involved repairs | Up to 2 hours | 16 hours |
These curing times are approximate. Temperature, humidity and the size and thickness of the repair can affect how quickly the epoxy cures.
DRY FLEX 1
Repair Care DRY FLEX 1 is the rapid option. It is particularly useful for relatively small repairs where you want to sand and continue with the job quickly.
It has an open time of up to around 20 minutes and can cure in approximately one hour under suitable conditions.
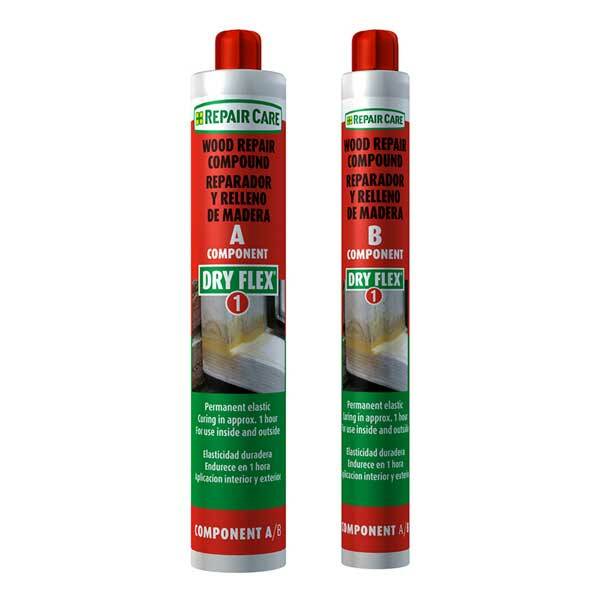
Repair Dry Flex 1
A very fast drying flexible filler for quick emergency and permanent repairs on small areas of interior and exterior wood.
No. of coats: 1
Sizes: 300ml
Coverage: Up to 4 m2 per litre
Find out more
DRY FLEX 4
Repair Care DRY FLEX 4 sits nicely in the middle of the range and is likely to be the most useful choice for many everyday timber repairs.
It provides up to around 25 minutes of working time and cures in approximately four hours, making it possible to repair, sand and potentially continue with the finishing process on the same day.
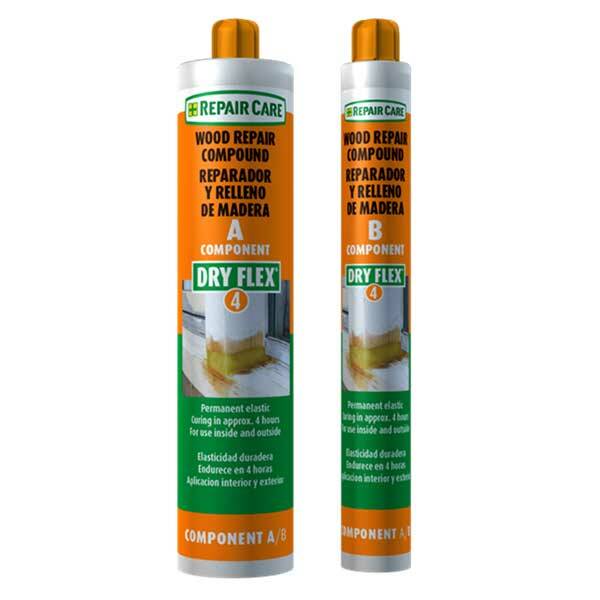
Repair Dry Flex 4
A quick drying flexible filler for emergency and permanent repairs on small to medium areas of interior and exterior wood
No. of coats: 1
Sizes: 400ml
Coverage: Up to 4 m2 per litre
Find out more
DRY FLEX 4 2-in-1
DRY FLEX 4 2-in-1 gives you similar four-hour performance but packages the two components together in a single cartridge.
It’s particularly convenient for smaller repairs and occasional users because dispensing is simpler and there’s less equipment involved.
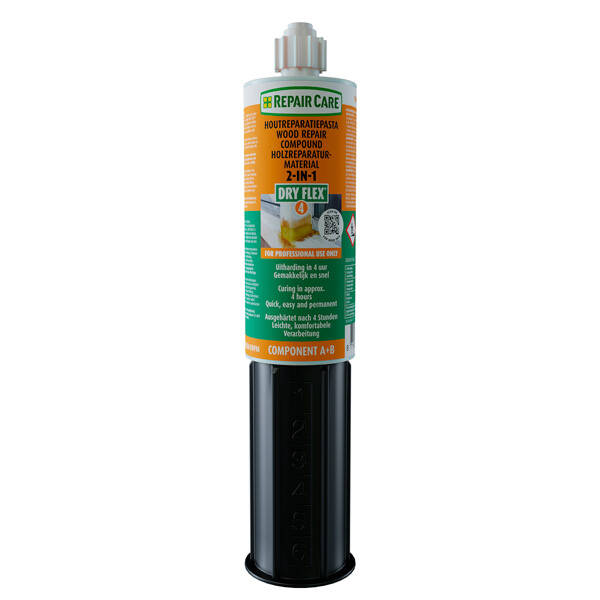
Repair Dry Flex 4 2-in-1
A 2-in-1 flexible filler for emergency and permanent repairs on small areas of interior and exterior wood
No. of coats: 1
Sizes: 150ml
Coverage: Up to 4 m2 per litre
Find out more
DRY FLEX 16
For bigger repairs where you don’t want to feel rushed, DRY FLEX 16 gives substantially more working time.
It has an open time of up to around two hours and an approximate 16-hour curing period. That makes it particularly useful when modelling larger or more complicated sections of missing timber.
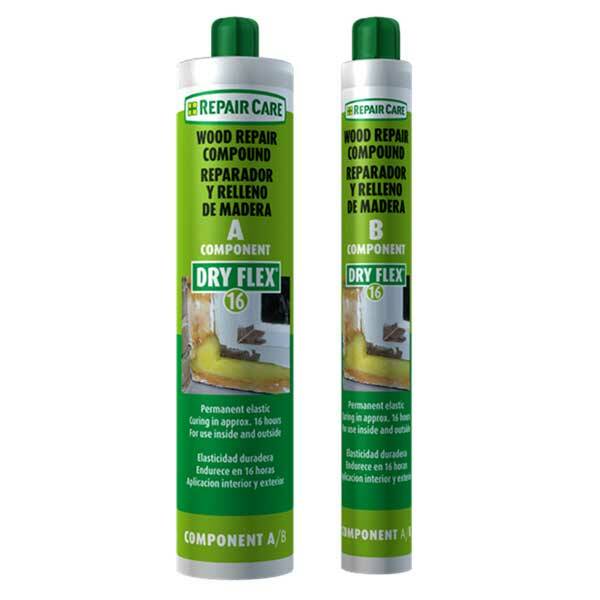
Repair Dry Flex 16
A 2-part, flexible filler for emergency and permanent repairs on large areas of interior and exterior wood
No. of coats: 1
Sizes: 400ml
Coverage: Up to 4 m2 per litre
Find out more
How to use Repair Care DRY FLEX: The 7 steps
Repair Care bases its system around seven steps to durable wood repair.
They’re worth following.
The biggest mistake would be to treat DRY FLEX like an everyday filler and simply spread it over soft or rotten wood. A durable repair starts well before the epoxy comes out of the tube.
Step 1: Remove the paint or existing finish
Start by exposing the area properly.
Remove paint and other coatings around the damaged section so that you can see the extent of the problem and work back onto clean, bare timber.
Depending on the job, this may involve sanding, scraping or another suitable method of coating removal.
Don’t just expose the obvious hole. Give yourself enough clear timber around it to inspect the surrounding wood properly.
Step 2: Remove ALL rotten and decayed wood
This is possibly the most important part of the whole job.
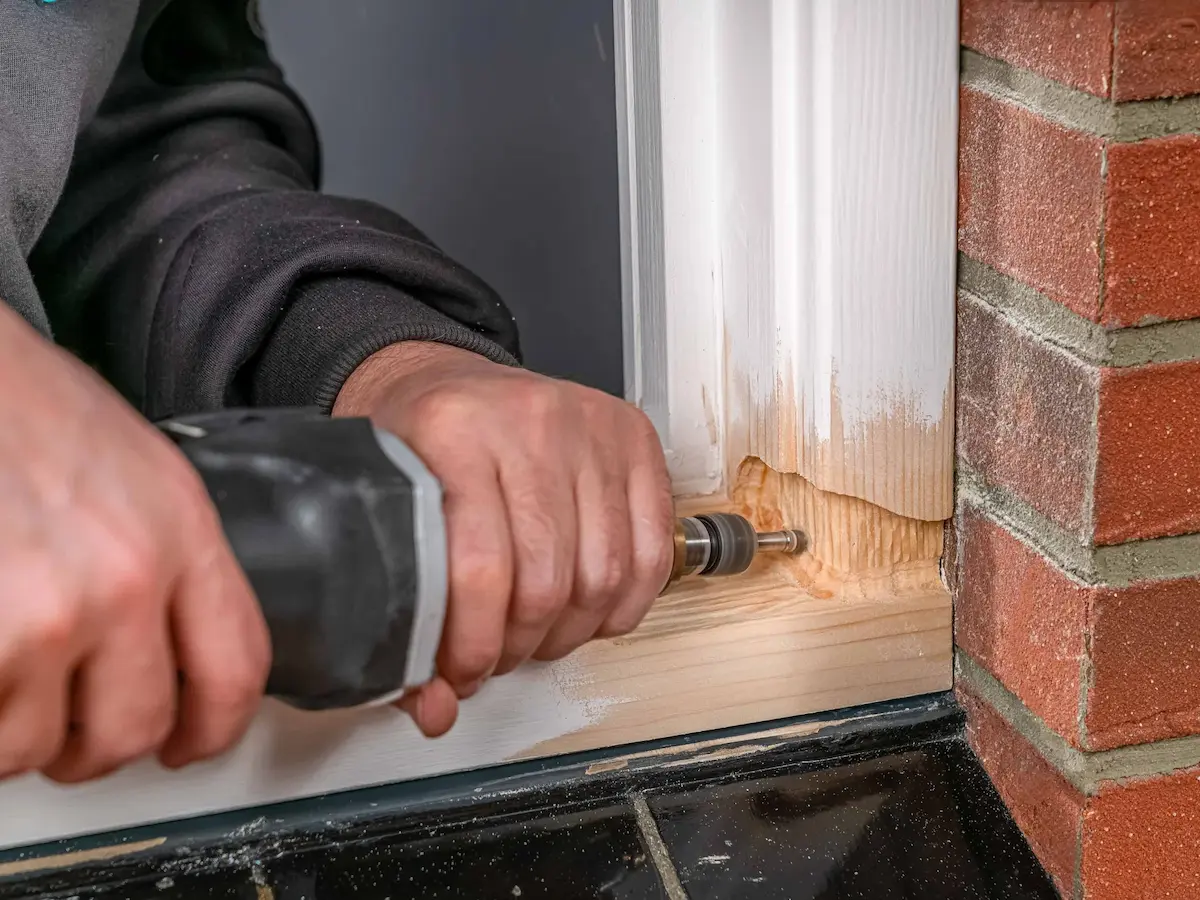
Cut, scrape, rout or chisel away all soft, rotten and decayed wood until you reach solid material.
Don’t be tempted to leave questionable timber behind simply because removing it makes the hole larger.
DRY FLEX needs sound timber to bond to. Filling over active decay risks compromising the entire repair.
A rotary cutter, multi-tool or chisel can be useful depending on the size and location of the affected area.
Wood Finshes Direct TIP:
If the timber still feels soft or friable when you probe it, keep going. The objective isn’t to make the smallest hole possible. It’s to create a sound foundation for the repair.
Step 3: Check that the timber is dry
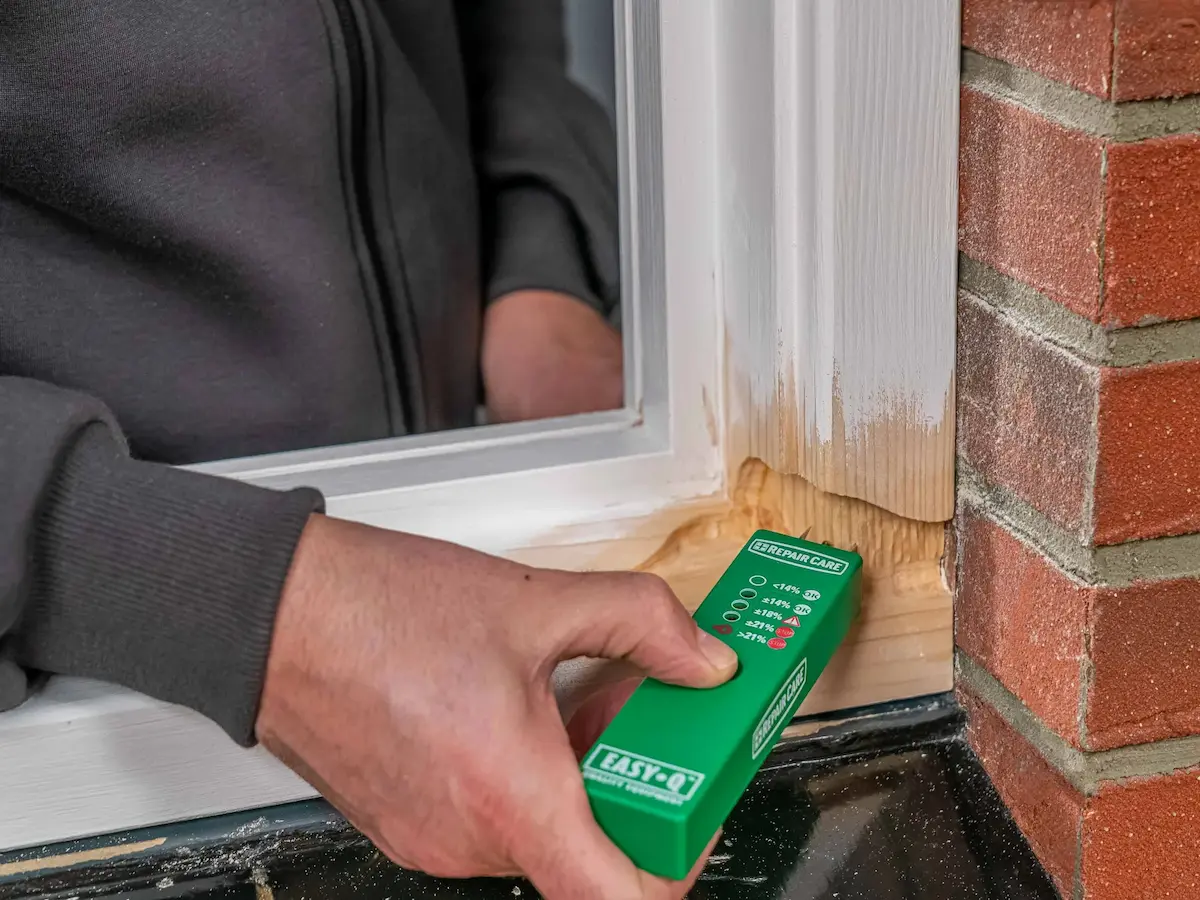
Before starting the repair, Repair Care recommends checking the moisture content of the remaining timber.
You’re looking for a moisture reading of 18% or below.
This is an easy step to overlook, but putting a repair over excessively damp timber isn’t a good foundation for a long-lasting result.
A suitable wood moisture meter makes the check quick and simple.
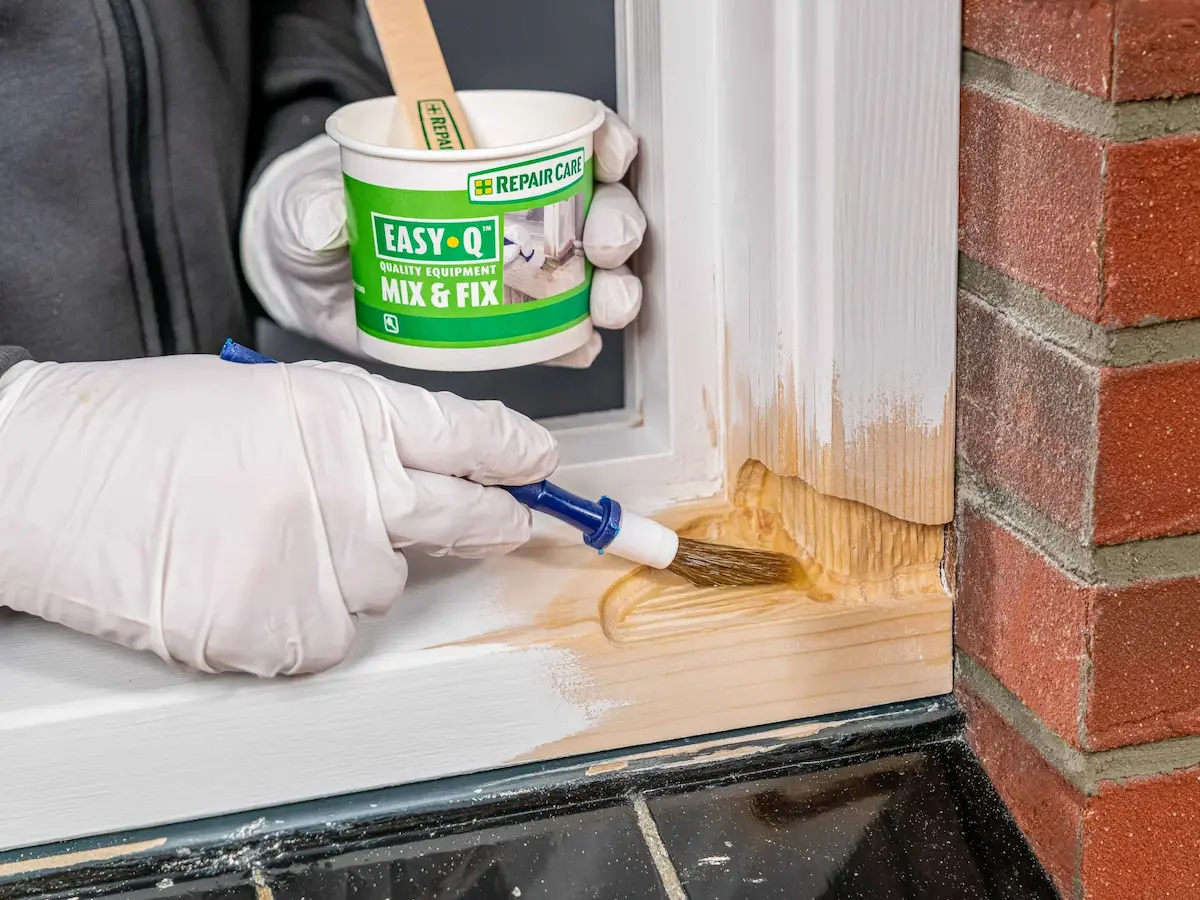
Step 4: Treat the repair with DRY FIX UNI
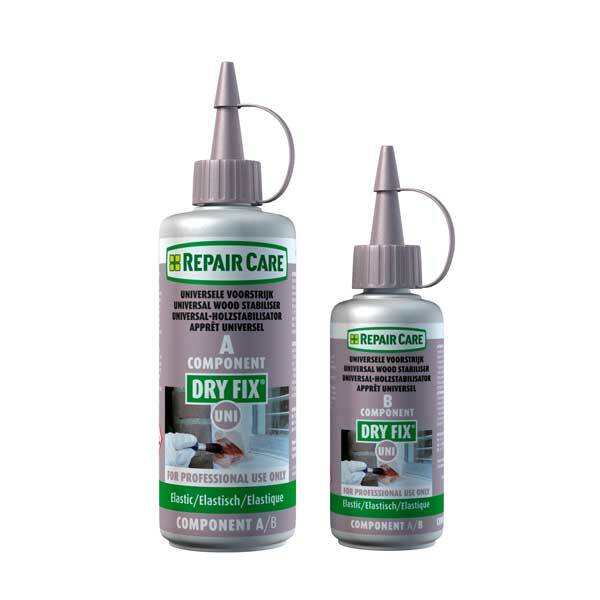
Next comes Repair Care DRY FIX UNI.
This is not another filler. It’s a low-viscosity, two-component primer designed to penetrate and strengthen the exposed wood fibres while helping provide maximum adhesion between the remaining timber and DRY FLEX.
Mix the two DRY FIX UNI components in the specified ratio and apply it sparingly to the exposed timber with a disposable brush.
Allow it to penetrate for approximately 20 to 45 minutes, then remove any excess material with absorbent, lint-free paper.
You don’t want pools of DRY FIX sitting in the repair.
Repair Dry Fix Uni
A pre-treatment in preparation of permanent repairs to interior and exterior windows, doors, furniture and more
No. of coats: 1
Sizes: 120ml 300ml
Coverage: Up to 4 m2 per litre
Find out more
Step 5: Mix the DRY FLEX
Now it’s time for the repair resin.
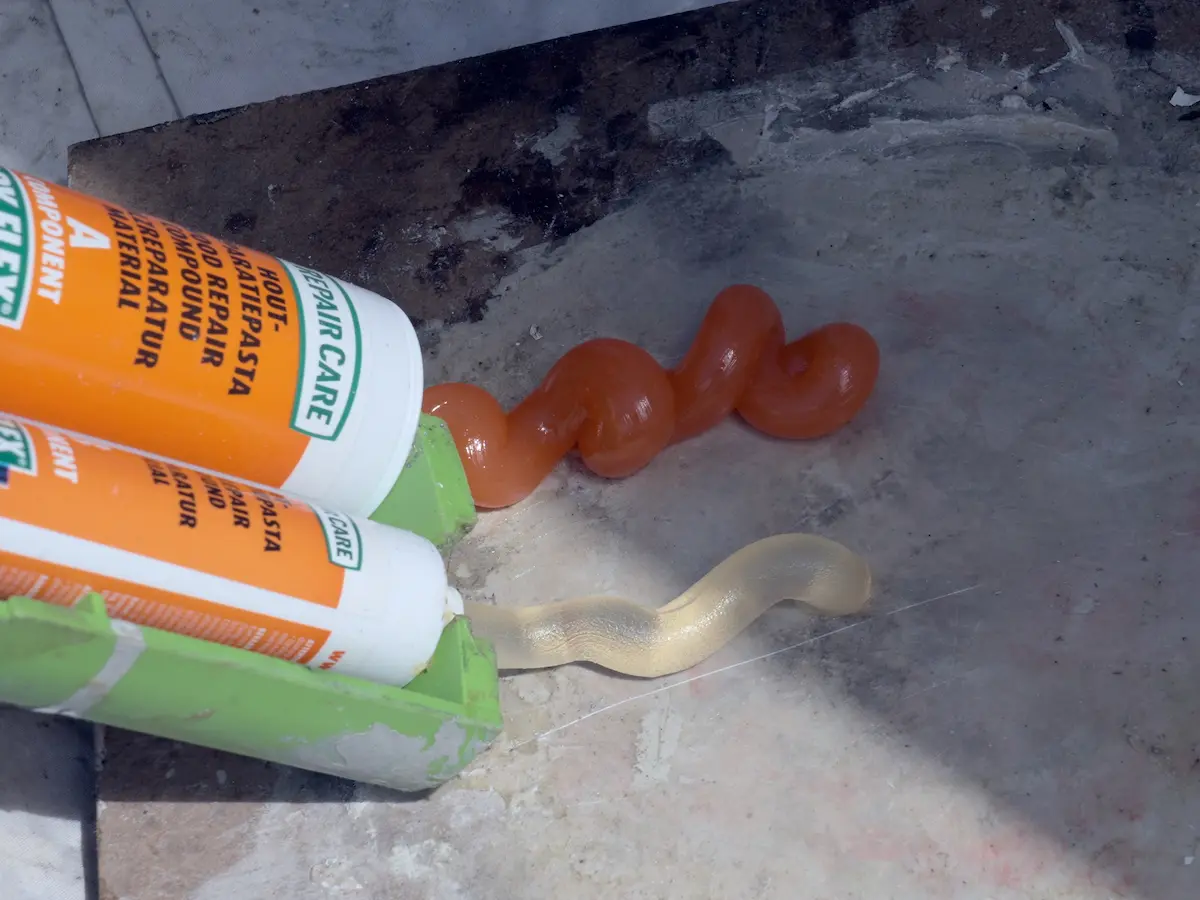
For conventional DRY FLEX 1, 4 and 16 cartridges, use the correct Repair Care EASY.Q High Performance Dosing Gun. The gun dispenses the two components in the correct proportions.
Don’t substitute an ordinary cartridge gun for these versions.
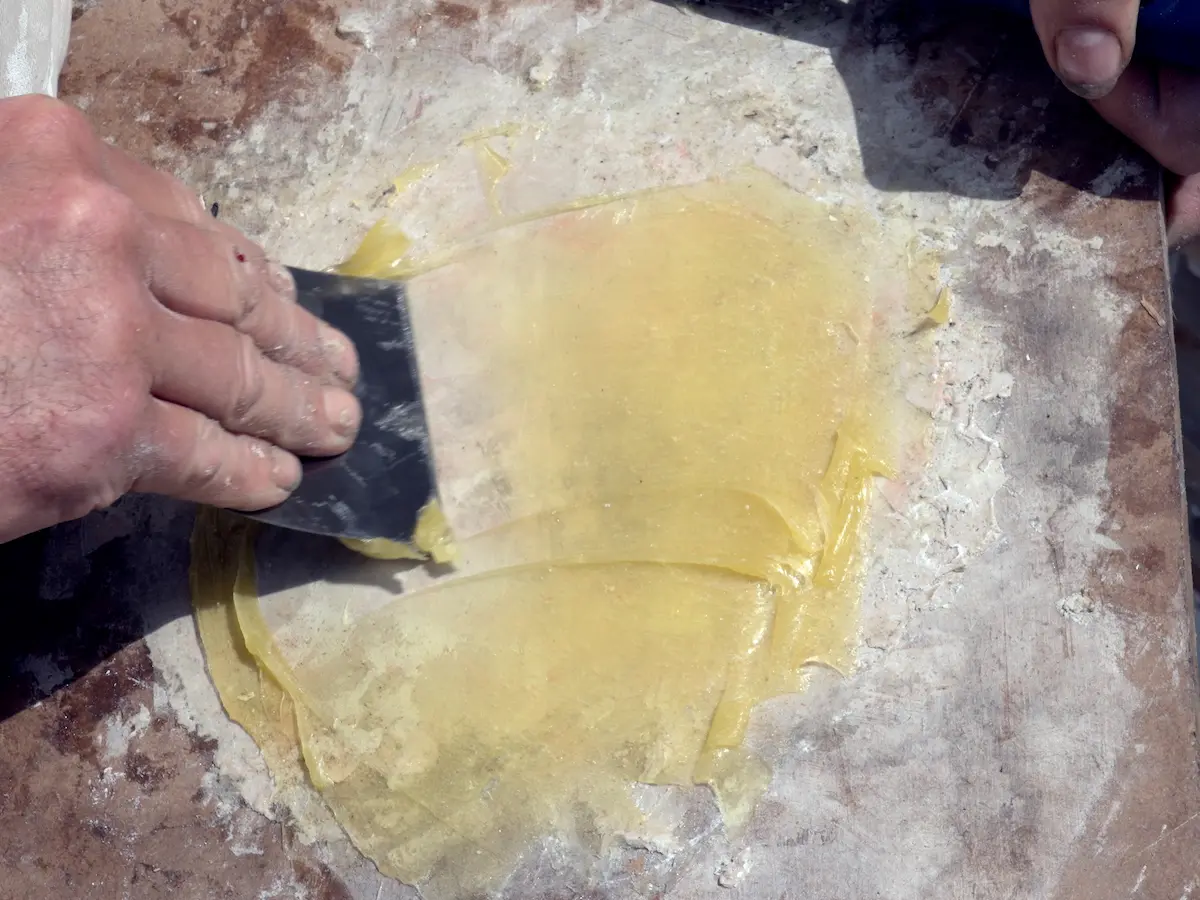
Dispense the product onto a clean mixing plate and thoroughly combine both components using an application knife until the mixture has an even, uniform colour with no streaks remaining.
Once mixed, spread the material reasonably thinly across the mixing plate rather than leaving it sitting in a large lump. This helps maximise the available working time.
Don’t mix more than you can comfortably use
Remember the open times:
- DRY FLEX 1: up to around 20 minutes
- DRY FLEX 4: up to around 25 minutes
- DRY FLEX 16: up to around 2 hours
If you’re new to the system, working with manageable quantities is much easier than racing against a large batch that’s already beginning to cure.
DRY FLEX 4 2-in-1 is slightly different because both components are housed within its single cartridge, making it especially convenient for smaller repairs.
Step 6: Butter, fill and shape the repair
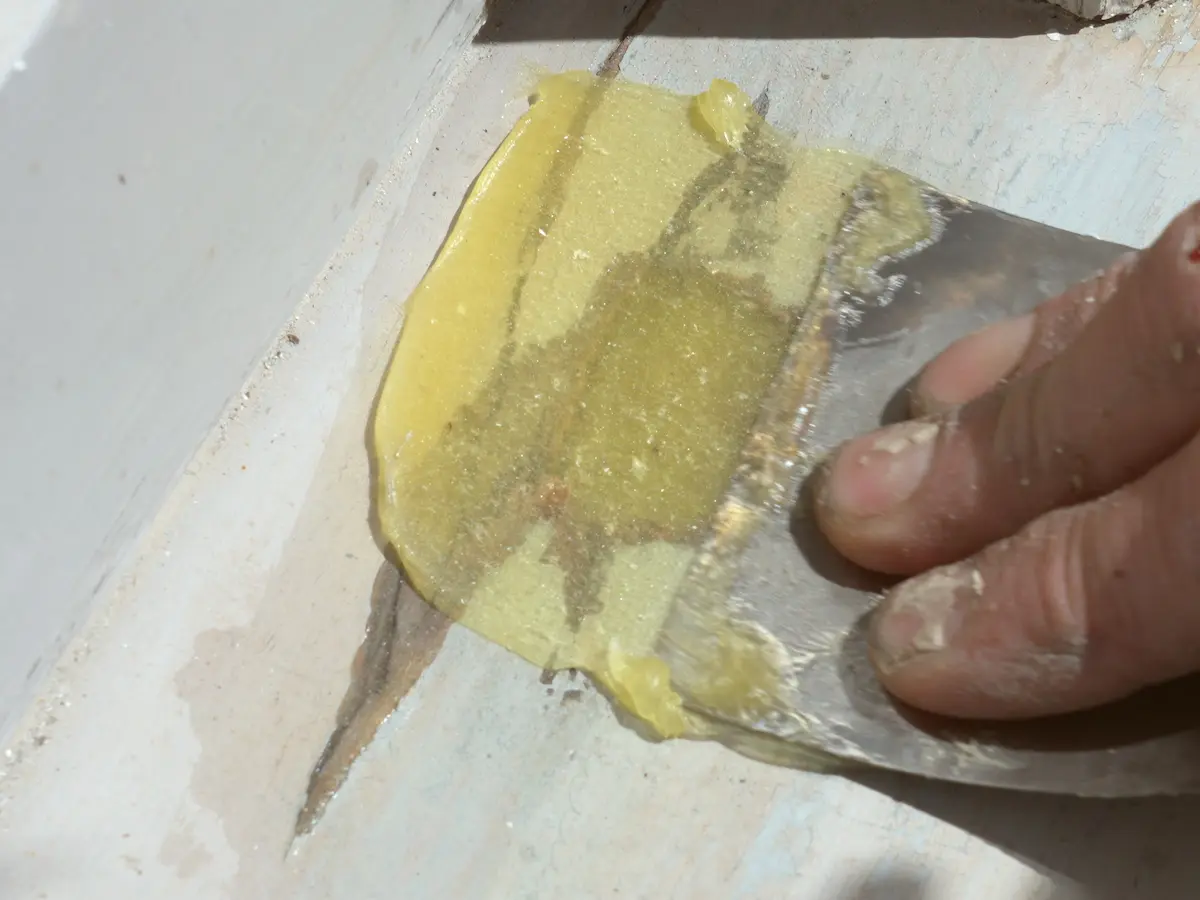
Before completely filling the damaged section, apply a thin layer of mixed DRY FLEX across the contact surfaces.
Repair Care calls this “buttering” the repair.
Then begin adding more material.
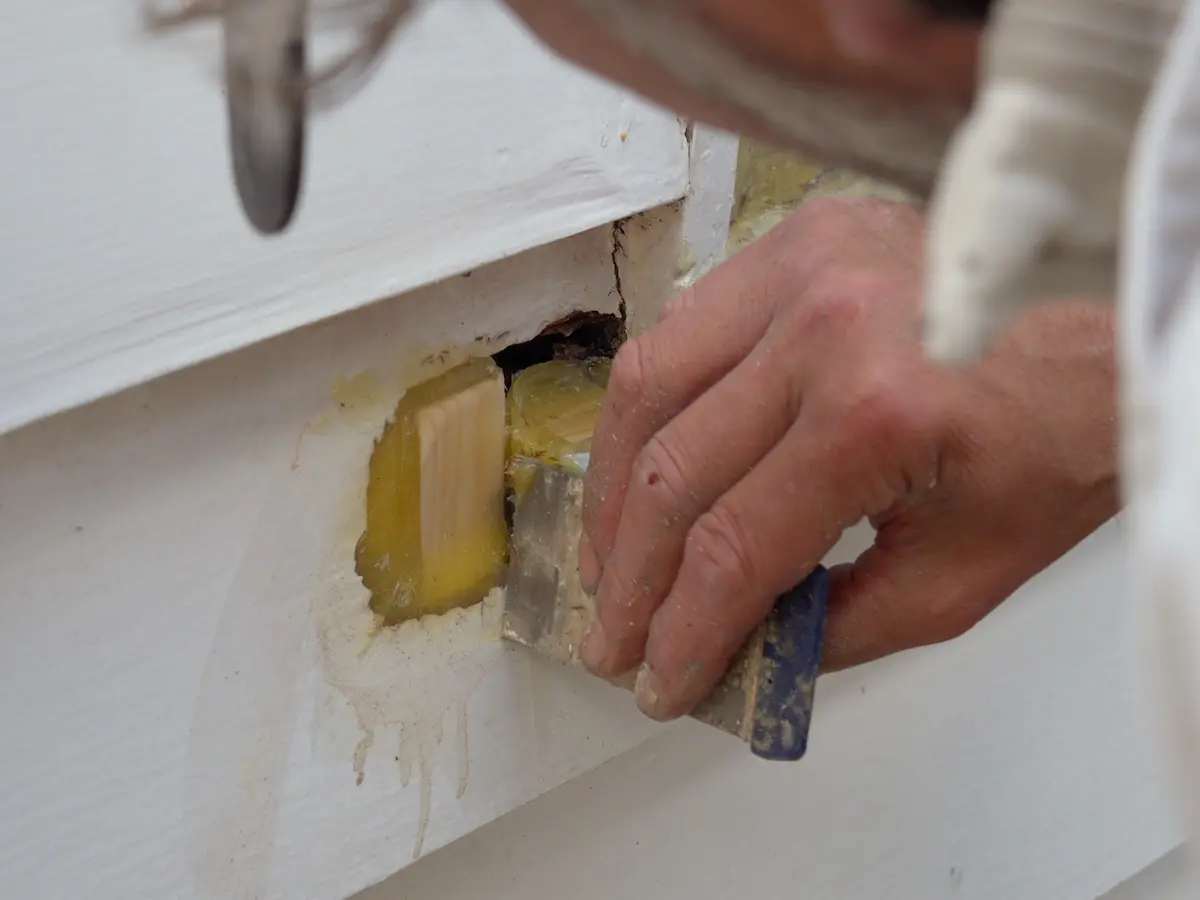
Press the DRY FLEX firmly against the prepared timber and build the repair gradually, paying particular attention to avoiding trapped air pockets.
Use a metal application knife to model the material back towards the original profile of the timber.
For window frames, sills and other moulded sections, take your time recreating the original shape.
You can leave the material slightly proud if required because the final profile can be achieved during sanding once the repair has cured.
Wood Finishes Direct TIP:
Getting reasonably close to the finished profile while the DRY FLEX is workable will save a lot of sanding later.
Step 7: Allow to cure, sand and finish
Leave the DRY FLEX undisturbed until it has fully cured.
As a general guide:
DRY FLEX 1 – approximately 1 hour
DRY FLEX 4 – approximately 4 hours
DRY FLEX 4 2-in-1 – approximately 4 hours
DRY FLEX 16 – approximately 16 hours
Again, environmental conditions and the amount of material used can alter these times, so don’t rely purely on the clock.
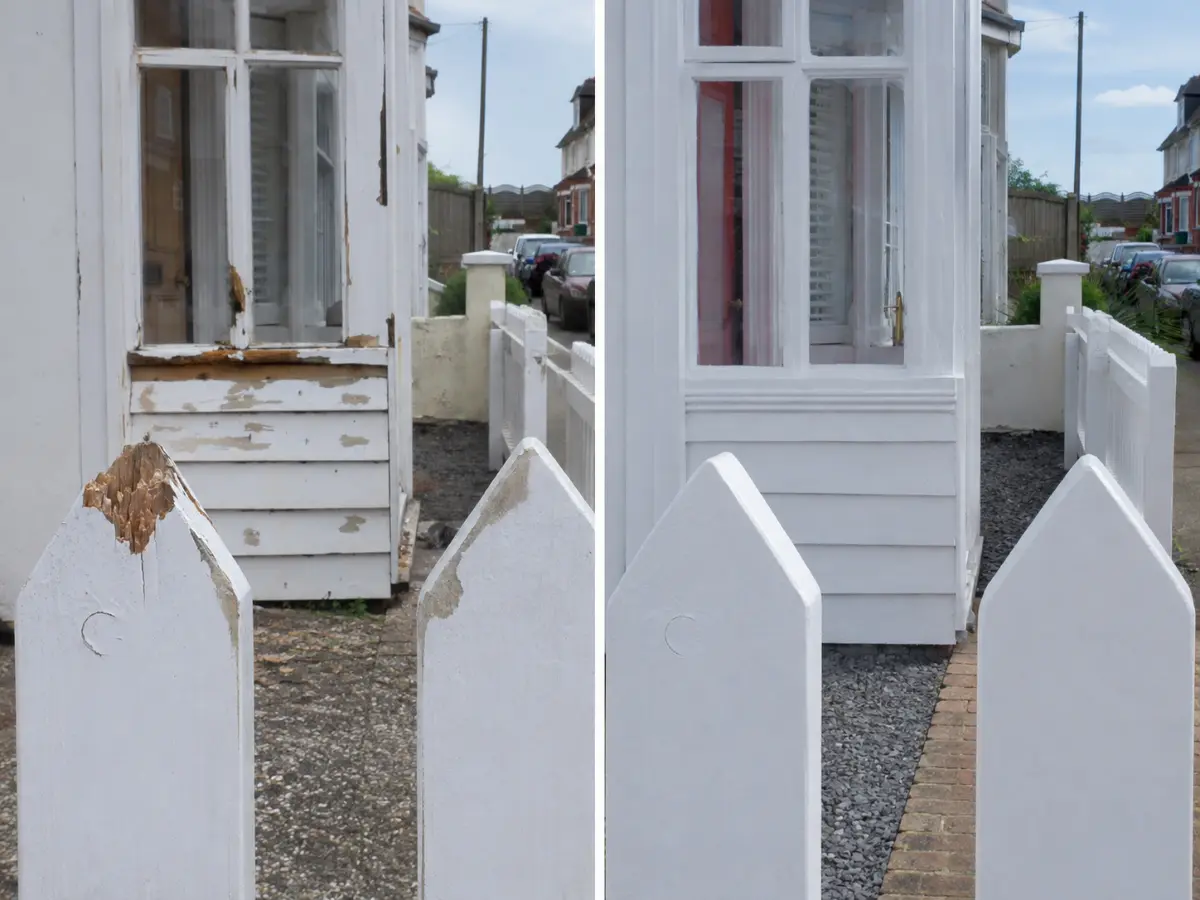
Once completely cured, sand the repair back into the surrounding timber.
Start with a coarser abrasive if significant shaping is necessary before moving through to a finer grade for the final finish.
The cured repair can also be planed, drilled, screwed, nailed or sawn if the job requires it.
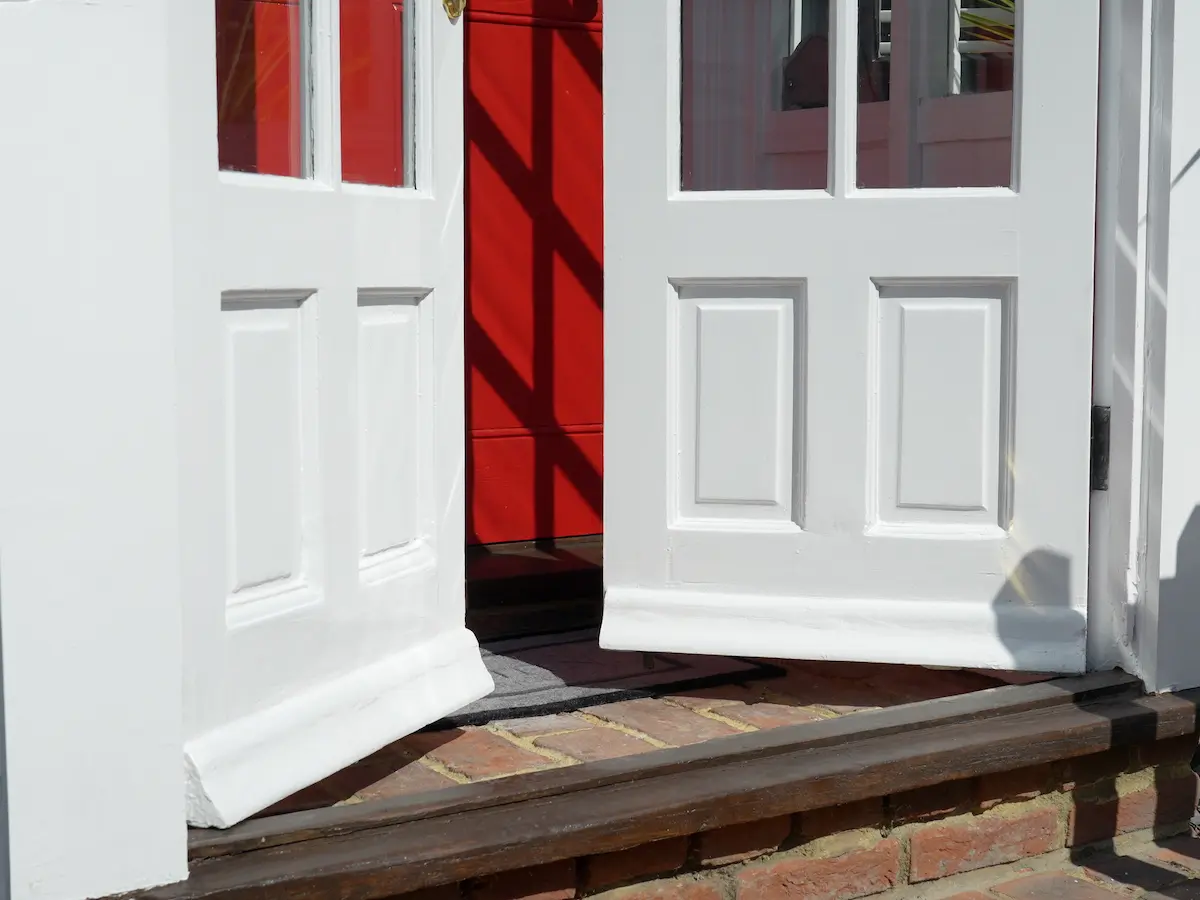
Finally, remove the sanding dust and build up your chosen coating system. Follow the coating manufacturer’s instructions and make sure the repaired area is properly primed where required before applying the finishing coats.
How about a Repair Care Starter Kit?
If you’re tackling your first Repair Care project and don’t already own the individual products, the Repair Care Starter Kit is worth considering.
It’s designed to provide the core products needed to get started with small to medium timber repairs and includes DRY FLEX 4 2-in-1 and DRY FIX UNI, alongside other useful products from the Repair Care system.
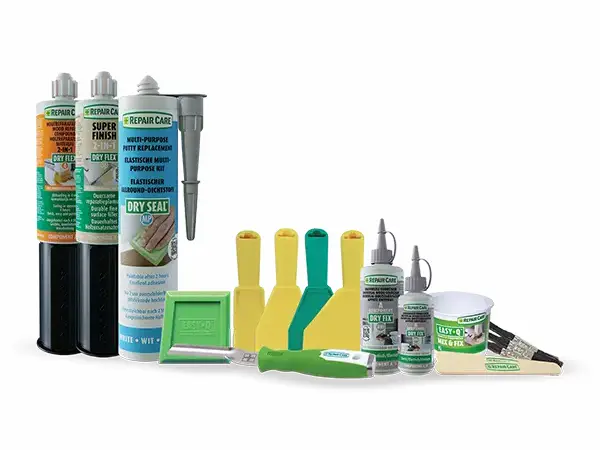
Repair Care Starter Kit
An introductory starter kit to wood repair, with everything needed to start using the Repair Care system
Find out more
Five mistakes to avoid when using DRY FLEX
1. Filling over rotten timber
Don’t. Remove the decay first and work back to sound wood.
2. Ignoring moisture
Check the wood is sufficiently dry before trapping moisture inside a repair.
3. Skipping DRY FIX UNI
It’s part of the Repair Care repair system and prepares the exposed timber for optimum adhesion.
4. Poor mixing
Any visible streaks suggest the two components haven’t been completely combined. Mix thoroughly to a uniform colour.
5. Trapping air in the repair
Butter the surfaces first and press the DRY FLEX firmly into the repair as you build it.
Shop Repair Care at Wood Finishes Direct
You can find the wider range of Repair Care timber restoration products, fillers and specialist application tools at Wood Finishes Direct.
Shop all Repair Care products at Wood Finishes Direct
If you need some help choosing between DRY FLEX 1, 4 or 16, or working out exactly what you’ll need for your repair, speak to the Wood Finishes Direct experts who will be happy to help on 01303477555.
Want to go into more detail?
We’ve also covered the Repair Care system in a longer Wood Finishes Direct YouTube Live session.