Mould is something almost every homeowner or tenant will encounter at some point. It’s often dismissed as a cosmetic nuisance – something to wipe away or paint over – but mould is a symptom of other problems and, in some cases, a serious health risk.
Here we are talking about:
- What mould actually is and why it appears
- Why painting over mould in the home doesn’t work
- How to fix mould properly, step by step
- The role of specialist products
- What landlords must do under Awaab’s Law
- Practical advice for both tenants and landlords
What Is Mould — and Why Does It Happen?
Mould is a type of fungus. It thrives in environments where moisture, warmth, and nutrients are present, which makes homes an ideal breeding ground when something goes wrong.
While mould is certainly unsightly, it’s not just an aesthetic issue. Prolonged exposure can contribute to respiratory problems, allergies, and asthma, particularly in children, older people, and those with existing health conditions.
Common causes of mould include:
- Condensation on cold surfaces
- Plumbing or roof leaks
- Poor or inadequate ventilation
- Cold walls caused by poor insulation
- Rising damp
Resident behaviours, such as drying laundry on radiators, and spikes in the temperature of the heating, can cause condensation and exacerbate moisture issues, but the root cause is often building-related.
Prevention vs. Painting: Why Covering Mould Doesn’t Work
Painting over mould without addressing the cause is one of the most common and costly mistakes.
Paint does not fix moisture. At best, it temporarily hides staining. At worst, it traps moisture and allows mould to grow back underneath, often spreading further.
What actually prevents mould long term?
- Identifying and stopping moisture ingress (leaks, rising damp, condensation)
- Improving airflow with extractor fans or vents
- Insulating cold surfaces so condensation can’t form
Without these steps, mould will return, no matter how many coats of paint you apply.
A Proper Mould Fix: Step by Step
Fixing mould properly isn’t complicated, but it does need to be done in the right order.
Step 1: Find the cause
Is it condensation, a leak, or rising damp? Treating mould without understanding this step guarantees failure.
Step 2: Fix the cause
Repair leaks, improve ventilation, or address insulation gaps.
Step 3: Clean and kill the mould
Visible mould must be treated with a proper mould cleaner or killer to remove spores, not just wiped away.
Step 4: Prepare and protect
Once clean and dry, surfaces should be primed and finished with specialist products designed to resist future mould growth.
The Role of Specialist Paints
Specialist paint products are effective once you have addressed the cause of mould.
Here’s a step by step approach to using a paint system:
- Clean the surface thoroughly
Remove loose paint and dirt, and treat visible mould with a mould cleaner.
You should not use bleach to clean away mould – it can increase humidity and does not contain an anti-fungicide. - Kill remaining spores
Use a dedicated mould killer to deal with mould you can’t see. - Prime and stain block
Once dry, apply a suitable primer such as Zinsser BIN or Zinsser B-I-N Aqua to block stains and create a stable base. - Apply mould-resistant paint
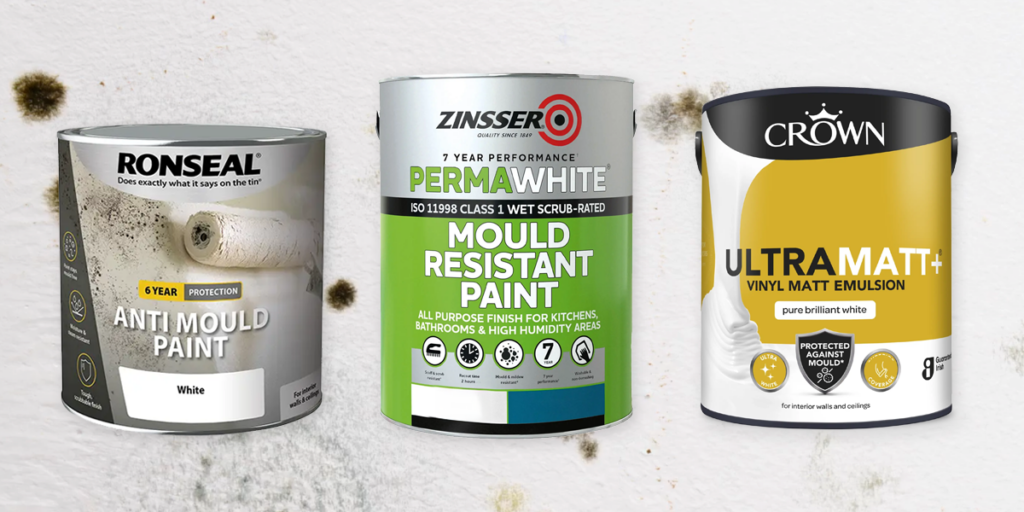
Finish with a mould-resistant product like Zinsser Perma-White, which contains fungicides to resist future growth. This paint – despite its name! – can be tinted to any colour, not just white, so think about how you would like your whole room to look.
Other recommended paints for mould treatment include Ronseal 6 Year Anti Mould Paint and Crown Ultra Matt+.
Do you really need to clean before painting?
Yes – absolutely. Painting over mould leaves spores behind, and the mould will return.
Awaab’s Law: What Landlords Need to Know
In England, damp and mould are no longer issues landlords can ignore.
Awaab’s Law, which came into force on 27 October 2025, was introduced following the tragic death of two-year-old Awaab Ishak due to prolonged mould exposure.
What does the law require?
- Investigation within 10 working days of a damp or mould report
- If a hazard is confirmed, the home must be made safe within 5 working days of completing the investigation
- Emergency hazards, including serious damp or mould, must be assessed and made safe within 24 hours
- Tenants must receive written summaries explaining findings and what will be done.
- If work cannot be completed in time, landlords must offer alternative accommodation.
This law introduces clear accountability and enforceable timelines, particularly in social housing.
Common Myths and Mistakes
Some of the most frequent issues professionals see include:
- Painting over mould without fixing moisture problems
- Ignoring ventilation and insulation problems
- Blaming tenants for issues with the building
Are there any temporary fixes?
Ventilating rooms, running a dehumidifier, moving furniture away from walls, and keeping your heating on a constant temperature can help, but these are not substitutes for proper repair.
Practical Advice: Tenants and Landlords
If you’re a tenant:
- Report damp and mould issues in writing
- Keep records and photos
- If your landlord fails to act within Awaab’s Law timeframes, you can escalate through formal complaints, the Housing Ombudsman, or legal routes.
If you’re a landlord:
- Treat all mould reports seriously
- Investigate moisture sources, not just surface damage
- Act quickly, communicate clearly, and document everything
- Consider proactive inspections, especially in bathrooms, kitchens, and older properties
Final Thoughts
Mould isn’t just something to paint over – it’s a warning sign.
The right approach is always the same:
- Find the cause
- Fix the cause
- Clean and treat the mould
- Use specialist products correctly
Good landlords who maintain safe, healthy homes deserve credit – and clear rules now help protect tenants from dangerous living conditions.
For More Help & Advice
Call our experts on 01303 477555


