


Paint tester pots are brilliant for narrowing down colour choices – but only if you use them the right way.
One of the biggest mistakes people make is slapping tester paint straight onto the wall. It might seem convenient, but it can actually make choosing a colour harder.
Let’s look at how to use paint tester pots properly for the best possible results.
Don’t Paint Directly Onto the Wall
Instead of painting straight onto your wall, pick up a roll of lining paper. It’s inexpensive, easy to find, and perfect for creating large, moveable colour samples. Cut the lining paper into generous-sized pieces so you can really see how the colour behaves.
Prepare and Apply the Paint Correctly
Open your tester pots and give them a good stir – paint that hasn’t been mixed properly won’t show its true colour. Apply a generous coat to each piece of lining paper and let it dry fully.
Top tip: Write the colour name on each piece of paper. When you’re comparing several similar shades (especially those endlessly popular greiges), this simple step will save a lot of confusion later.
Use the Right Tools
A paintbrush works perfectly well, but a basic household sponge is often even better. Sponges are cheaper, faster to use, and easy to clean They also help you apply paint evenly without worrying too much about brush marks.
Move Your Swatches Around the Room
One of the biggest advantages of this method is flexibility. Once your samples are dry, you can move them around the room:
- Place them near windows to see how natural light affects the colour
- Check them under artificial lighting in the evening
- Hold them next to existing furniture, flooring, or soft furnishings
- Look at your new colours against door ways to understand how the flow works through your home. You can then see how the new colour will work with the existing colours in the next room of your home.
Colours can look completely different depending on their surroundings.
Check at Different Times of Day
Morning light, afternoon sun, and evening lighting all change how a colour appears. A shade that looks perfect at lunchtime might feel too dark or too cool at night.
Live with your colour swatches for a few days. The light will vary depending on weather and this can impact your colour. It’s also important to check with the lights you would usually have on in that room. Think about whether you normally use the big light or smaller table lamps and check the colours in these lights before you commit to your colour.
Why Colour Testing Is Important
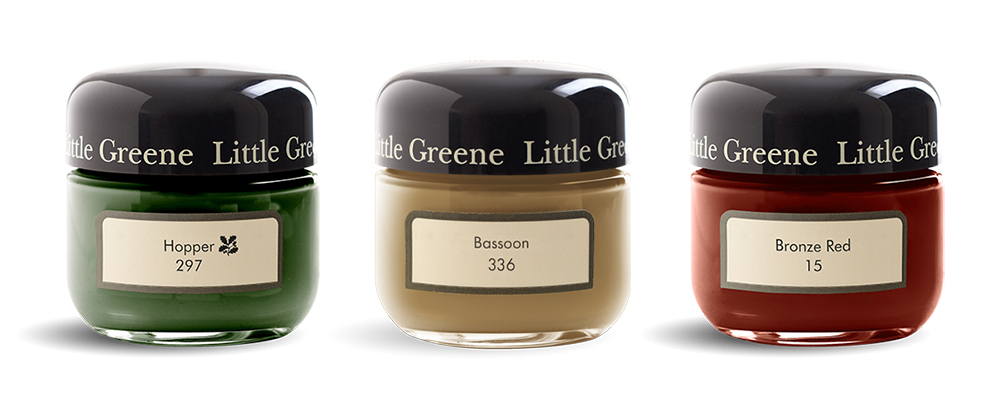
Premium paints such as Mylands, Earthborn, Little Greene and Farrow & Ball use natural pigments. These offer more colour variation, depth of colour and luminosity than artificial colour pigments, but it is important to look at these in different lights. You will see the multi-tonal colour changes and get an idea of how they make the room feel at different times of day.
How Many Colours Should I Test?
Up to six colours is a good guide.
The Smart Way to Choose Paint Colours
Using tester pots this way makes choosing the right colour far easier. You’ll avoid unnecessary repainting, protect your walls, and feel confident that the colour you choose will work in all lighting conditions. And remember to take your time – this should be an enjoyable process!
Time to Order Your Sample Pots?
Tester pot sizes from leading paint brands:
Little Greene Absolute Matt Emulsion 60ml
Farrow & Ball Estate Emulsion 100ml
Dulux Heritage Velvet Matt Paint 125ml
Earthborn Claypaint 100ml
Mylands Marble Matt Emulsion 100ml
Crown Walls and Ceilings Matt Emulsion Paint 40ml
Dulux Walls and Ceilings Matt Paint 30ml
Note: Sample pots are often available in only one finish per brand. Use these to test colours before ordering full-size tins in your preferred finish.