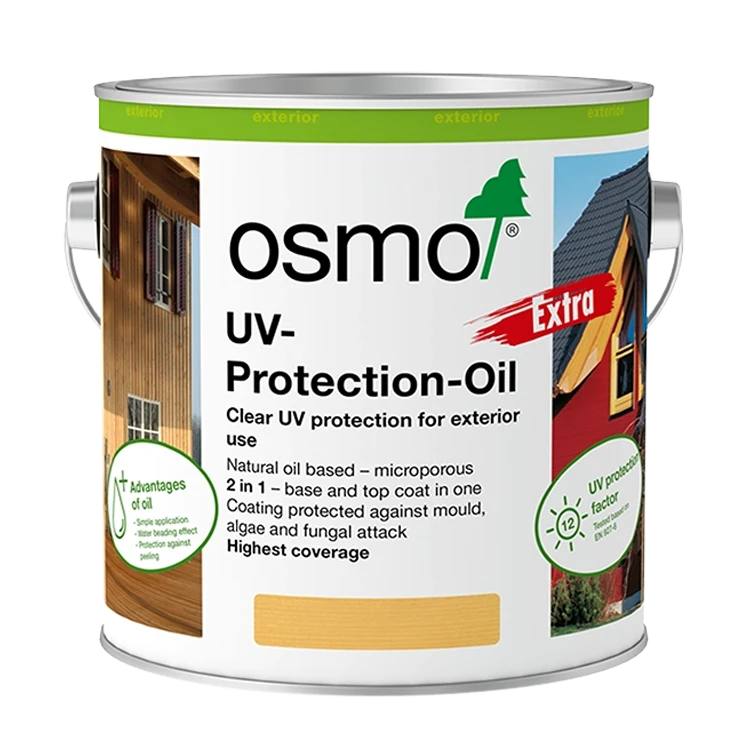
Georgie is here to show you how to apply one of our most popular oils, Osmo UV Protection Oil Extra (420).
Osmo UV Protection Oil Extra: What Makes It Different and How to Use It Properly
If you’ve ever installed fresh exterior timber, you’ll know the feeling – it looks incredible at first… and then the weather starts to get to work.
Within months, untreated wood can begin to grey, crack, split and warp. That’s exactly what products like Osmo UV Protection Oil are designed to prevent – and in this video, we show you how to apply it properly to new cladding.
But there’s an important detail here: the product we’re really talking about is Osmo UV Protection Oil Extra – and that “Extra” bit actually matters more than most people realise.
What Does the “Extra” Actually Mean?
At a glance, Osmo UV Protection Oil Extra looks similar to the standard version, but it’s been formulated with added protection built in. Alongside its UV-blocking performance, it also contains active biocides that help protect the coating itself from:
• Mould
• Algae
• Fungal attack
That’s a big advantage outdoors, especially in the UK where damp, shaded areas can quickly become a breeding ground for organic growth. It doesn’t make the wood invincible, but it delays and reduces the likelihood of visible contamination, helping the finish stay cleaner for longer.
How It Protects Wood
Like the standard version, this is a microporous oil-based finish. Instead of forming a hard film on top like a varnish, it penetrates into the wood and leaves a breathable surface.
That gives you a few key benefits:
• Allows moisture vapour to escape
• Reduces swelling and shrinkage
• Won’t crack, peel or flake over time
In other words, it moves with the wood, which is exactly what you want outside.
The Science Bit
Under the bonnet, Osmo UV Protection Oil Extra is built around a blend of natural oils, including:
• Sunflower oil
• Soybean oil
• Linseed oil
These soak into the timber and create a water-repellent barrier, helping prevent moisture ingress.
On top of that, you’ve got:
• Pigments (in tinted versions) to block UV radiation
• Titanium dioxide and iron oxides to improve light stability
• Biocidal active ingredients (IPBC) to resist biological growth
Apply two coats, and you’re getting a UV protection factor of 12 compared to untreated wood, which dramatically slows the greying process
Clear vs Tinted
This is something worth calling out again, especially with the Extra version.
• Clear = subtle, natural look, but less UV resistance
• Tinted = stronger, UV protection thanks to added pigments
If you’re investing the time to protect exterior timber properly, a lightly tinted option is usually the smarter long-term move. It’ll keep the colour more consistent and extend the time between maintenance coats.
Explore all the colours here – sample sizes available
Application
The process shown in the video applies perfectly to the Extra version and getting this right makes all the difference.
1. Prep properly (don’t skip this)
• Wood must be clean, dry and frost-free
• Leave 2-3 dry days after rain
• Sand new wood to 120 grit (maximum)
For brand new timber, there’s even a case for letting it weather slightly (around 6 weeks), so it becomes more absorbent and accepts the oil better.
2. Stir thoroughly
Same rule as always:
• Stir well before use
• Don’t shake
You want all the oils, pigments and active ingredients evenly mixed before application.
3. Apply thinly
If there’s one takeaway from the video, it’s this.
Using a soft-tip or hollow bristle brush:
• Apply along the grain
• Work it into the surface
• Keep the coat thin and even
Osmo is designed to soak in, not sit on top.
Too much product = longer drying times and a tacky finish.
4. Don’t ignore end grain
End grain is where water gets in first.
So make sure you cover:
• Board ends
• Cut edges
• Joins and exposed sections
It’s one of those small details that massively improves durability.
5. Drying and second coat
• Leave around 12 hours between coats
• Ensure it’s fully dry before recoating
• Apply the second coat just as thinly
Interesting bonus with the Extra version:
You can use a tinted first coat and clear second coat if you want to fine-tune the final look
Coverage and Efficiency
Like other Osmo oils, this goes further than you might expect.
• Approx. 18m² per litre per coat
Because you’re applying it thinly, you’re not burning through product, you’re letting the wood do the work.
Maintenance: Where the Extra Version Earns Its Keep
This is where Osmo UV Protection Oil Extra really starts to justify itself.
Because of:
• UV resistance
• Water repellency
• Added biocides
…it can extend the time between maintenance cycles compared to more basic finishes
The general approach:
• Inspect annually
• Re-coat when needed with a single thin maintenance coat
No full sanding. No stripping back. Just a quick refresh.
That’s a big win in terms of time, cost and effort.
Where Can You Use It?
Osmo UV Protection Oil Extra is designed for vertical exterior wood surfaces, including:
• Cladding
• Doors and windows
• Fences and sheds
• Pergolas and balconies
It’s not suitable for decking or other horizontal surfaces – those need a different system.
Final Thoughts on Osmo UV Protection Oil Application
The application you see in the video is simple, but the product behind it is doing quite a lot of heavy lifting.
With Osmo UV Protection Oil Extra, you’re getting:
• UV resistance to slow greying
• A breathable, flexible finish that won’t peel
• Water repellency to protect the timber
• Added biocides to help keep the surface cleaner
The key is still the same:
• Prep well
• Apply thinly
• Stay on top of maintenance
Do that, and you’ll keep exterior wood looking better for longer, with far less effort down the line.
Where to buy
Osmo UV Protection Oil Extra
3L for 2.5L and up to 10% off
Shop now


, a perfect protective finish for exterior vertical surfaces.)