Now that you’ve decided a wooden floor will be the finishing touch for your room, it’s time to think about installing it. The process of installing wood floors requires more preparation than any other type of flooring, so it’s important to know the basics.
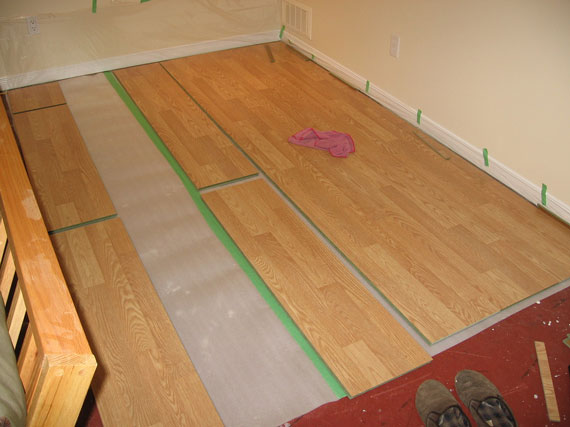
Sub-Floor Preparation
Acclimatise your wooden boards in the room they’re going to be laid in for up to a week before you’re going to lay them. The conditions in the room are unique and the wood needs to get used to being in these conditions, otherwise it could shrink or contract after you’ve laid them.
Make sure the entire area is smooth and level, even and dry. If it’s newly laid concrete, make sure it is fully dried out and cured- this can take upwards of a week. Fix any screws and nails firmly below the surface. This gives the best possible platform for your adhesive and ultimately your wooden flooring. Remove your skirting boards as these can always be replaced or re-installed after the flooring has been laid for the best possible fit. Make sure there’s no dust or debris left in this area by hoovering the area thoroughly.
Check your sub-floor’s moisture content using a moisture meter in several places: the middle of the room, in a corner, making sure the points are well spaced out. This will get you an accurate, even measurement. You’ll get a Relative Humidity (RH) reading. This reading needs to be below 65% or you will have to use a Damp Proof Membrane (DPM). A DPM acts as a highly effective barrier against moisture. Excess moisture will prevent adhesives from drying and can cause cupping or raising in your floorboards. Bona R410 is a two-part epoxy resin DPM, which is highly effective and quick-drying, can also be used over bitumen, which commonly was used to fix down parquet and other types of block flooring. It also strengthens your subfloor for long lasting adhesion.
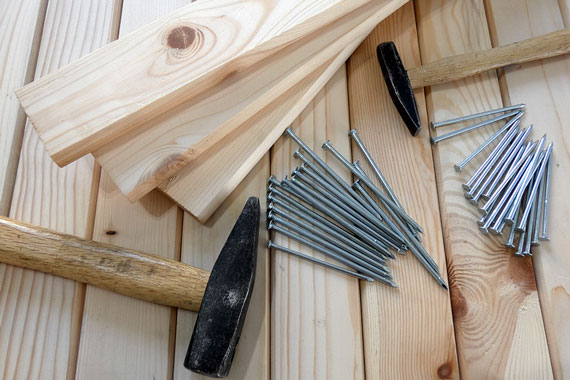
The Right Tools for the Job
Getting the right flooring adhesive for the job is key. Choose the wrong one and floor planks could start to squeak, move around or eventually come away from the sub-floor as the adhesive fails. All of the following floor adhesives are virtually solvent and water free, so there won’t be any odours or V.O.C’s escaping into the room after installation.
Finger parquet and very narrow solid boards (less than 190mm in width)
Bona R848 Adhesive is a one-component, silane-based flexible flooring adhesive. It has high initial bonding strength, which reduces potential for hollow spots which is perfect for smaller, narrower boards which will move more under foot traffic.
Solid wood and engineered flooring (between 190mm – 400mm wide)
Bona Quantum, a crosslinking, silane-based flooring adhesive or Osmo MS Wooden Floor Adhesive, a polymer-based floor adhesive. Both of these are perfect for the installation of solid and engineered wood flooring but widely used as a universal product for most flooring types. Both are high strength and medium elasticity, remaining flexible for seasonal expansion and contraction of floor boards.
End-grain/ultra-wide (400mm+)/resinous tropical woods
With it’s very high strength and little elasticity, Bona Titan is one of the strongest wood flooring adhesives currently on the market. It has very high bonding strength and high initial grab, making it suitable for all physically sound subfloors.
Wooden stairs, skirting boards and door thresholds
Bona R880 is a soft elastic, silane-based adhesive in a mastic tube for easier application.
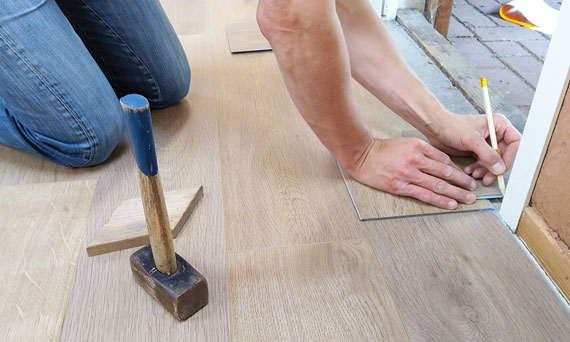
It is worth mentioning that high strength adhesives, such as Bona Titan put a lot of stress on the subfloor, as opposed to the flexible, silane-based products like Bona Quantum. So good sub-floor preparation is vital. More information can be found on our product pages for each of these products. Alternatively, see our FAQ page for wood glues and adhesives.
For more information, Contact our team of resident experts who are always on hand to help with project advice and product recommendations. We love to see before, during and after photos of any wood finishing project. If you would like to share your flooring installation photos with us, you can either email them to us or share on our Facebook, Twitter, Pinterest or Instagram pages.
